Create and manage a Grafana Cloud stack using Terraform
Learn how to add a data source, a dashboard, and a folder to a Grafana Cloud stack using Terraform.
Prerequisites
Before you begin, ensure you have the following:
- A Grafana Cloud account, as shown in Get started
- Terraform installed on your machine
Note
All of the following Terraform configuration files should be saved in the same directory.
Create a Cloud stack
Create a Terraform configuration file.
This Terraform configuration will create a Grafana Cloud stack and a second token needed for your Grafana instance.
Create a file named
cloud-stack.tfand add the following:terraform { required_providers { grafana = { source = "grafana/grafana" version = ">= 2.9.0" } } } // Step 1: Create a stack provider "grafana" { alias = "cloud" cloud_access_policy_token = "<cloud-access-token>" } resource "grafana_cloud_stack" "my_stack" { provider = grafana.cloud name = "<stack-name>" slug = "<stack-name>" region_slug = "<region>" # Example "us","eu" etc delete_protection = true } // Step 2: Create a service account and key for the stack resource "grafana_cloud_stack_service_account" "cloud_sa" { provider = grafana.cloud stack_slug = grafana_cloud_stack.my_stack.slug name = "<service-account-name>" role = "Admin" is_disabled = false } resource "grafana_cloud_stack_service_account_token" "cloud_sa" { provider = grafana.cloud stack_slug = grafana_cloud_stack.my_stack.slug name = "terraform serviceaccount key" service_account_id = grafana_cloud_stack_service_account.cloud_sa.id } // Step 3: Create resources within the stack provider "grafana" { alias = "my_stack" url = grafana_cloud_stack.my_stack.url auth = grafana_cloud_stack_service_account_token.cloud_sa.key } resource "grafana_folder" "my_folder" { provider = grafana.my_stack title = "Test Folder" }Replace the following field values:
<cloud-access-token>with your Grafana Cloud Access Policy Token. To create a new one, refer to Grafana Cloud Access Policies. Add all stacks to the realms list. The scopes needed for the example are:- dashboards:read
- orgs:read
- stack-dashboards:read
- stacks:read
- dashboards:write
- orgs:write
- stack-dashboards:write
- stacks:write
- stack-service-accounts:write
- dashboards:delete
- stack-dashboards:delete
- stacks:delete
<stack-name>with the name of your stack.<region>with the region in which you want to create the stack. For exampleus,eu.<service-account-name>with a name for the serviceaccount that will be created to use for operations within the stack/instance.
The first provider block, grafana.cloud, uses the Cloud Access Policy Token from the Cloud Portal and is referenced as a parameter when creating the Cloud stack and the token in the Grafana instance to provide the necessary authentication.
The second provider block, grafana.my_stack, is referenced as a parameter when creating resources inside the Grafana instance.
Add a data source
This guide uses the InfluxDB data source. The required arguments for grafana_data_source (Resource) vary depending on the type of data source you select.
Create a file named
datasource.tfand add the following:resource "grafana_data_source" "<data-source-name>" { provider = grafana.my_stack type = "influxdb" name = "<data-source-name>" url = "<data-source-url>" username = "<username>" password = "<password>" database_name = "<db-name>" }Replace the following field values:
<data-source-name>with the name of the data source to be added in Grafana.<data-source-url>with URL of your data source.<username>with the username for authenticating with your data source.<password>with password for authenticating with your data source.<db-name>with name of your database.
Add a folder
This Terraform configuration creates a folder in your Grafana instance using grafana_folder (Resource).
Create a file named
folder.tfand add the following:resource "grafana_folder" "<folder-name>" { provider = grafana.my_stack title = "<folder-name>" }Replace the following field value:
<folder-name>with a name for the folder.
Add a dashboard to the folder
This Terraform configuration creates a dashboard inside the folder created above in your Grafana instance using grafana_dashboard (Resource).
Create a file named
dashboard.tfand add the following:# Using a JSON file resource "grafana_dashboard" "dashboard" { provider = grafana.my_stack config_json = file("<file-name>.json") folder = grafana_folder.<folder-name>.id }Replace the following field value:
<file-name>with the name of the JSON file that has the source code for the dashboard.
The dashboard is represented by its JSON source code and referenced in the
config_jsonparameter.
Apply the Terraform configuration
In a terminal, run the following commands from the directory where all of the configuration files are located.
Initialize a working directory containing Terraform configuration files.
terraform initPreview the changes that Terraform will make.
terraform planApply the configuration files.
terraform apply
Validation
Once you apply the changes in the Terraform configurations, you should be able to verify the following:
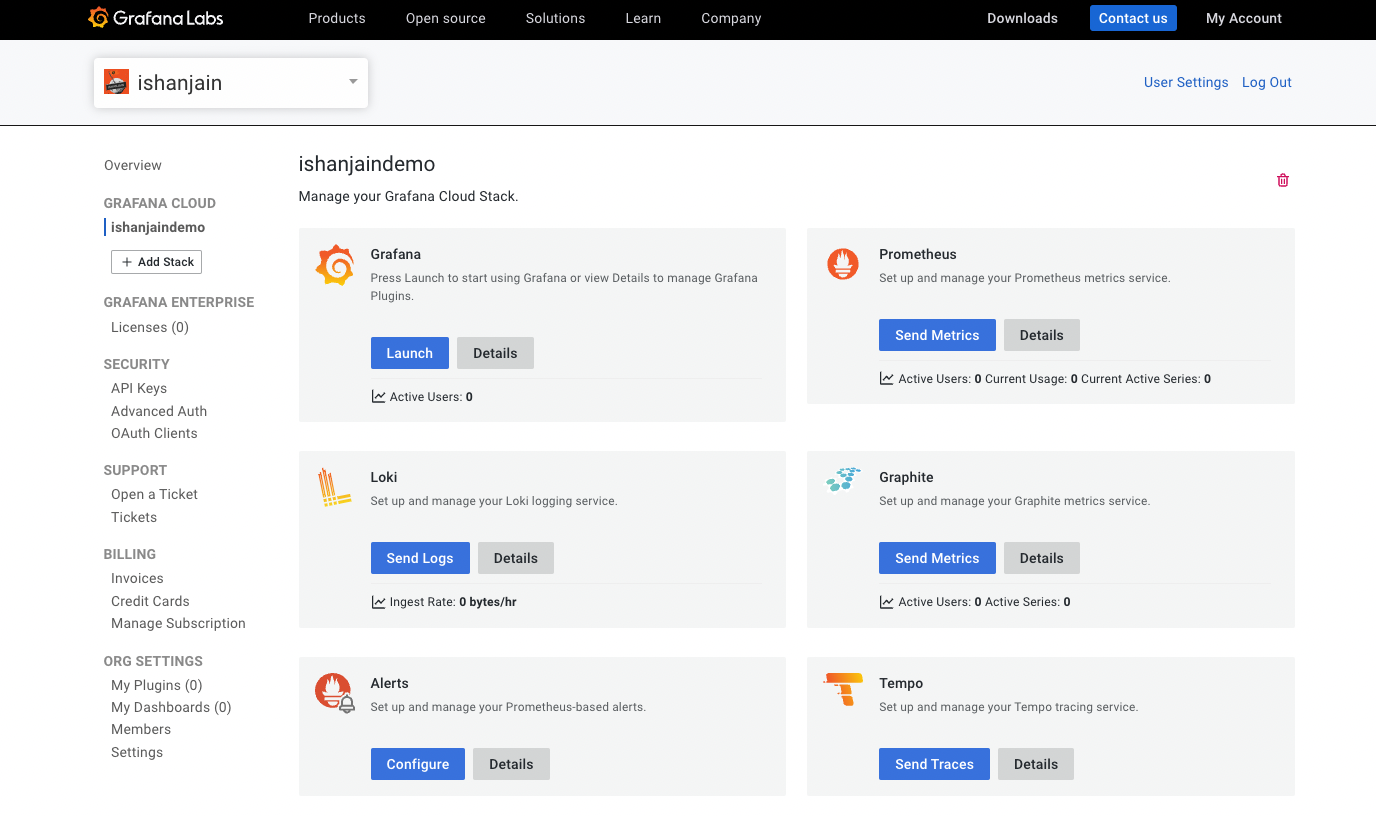
The new Grafana stack is created and visible in the Cloud Portal
![Cloud Portal]()
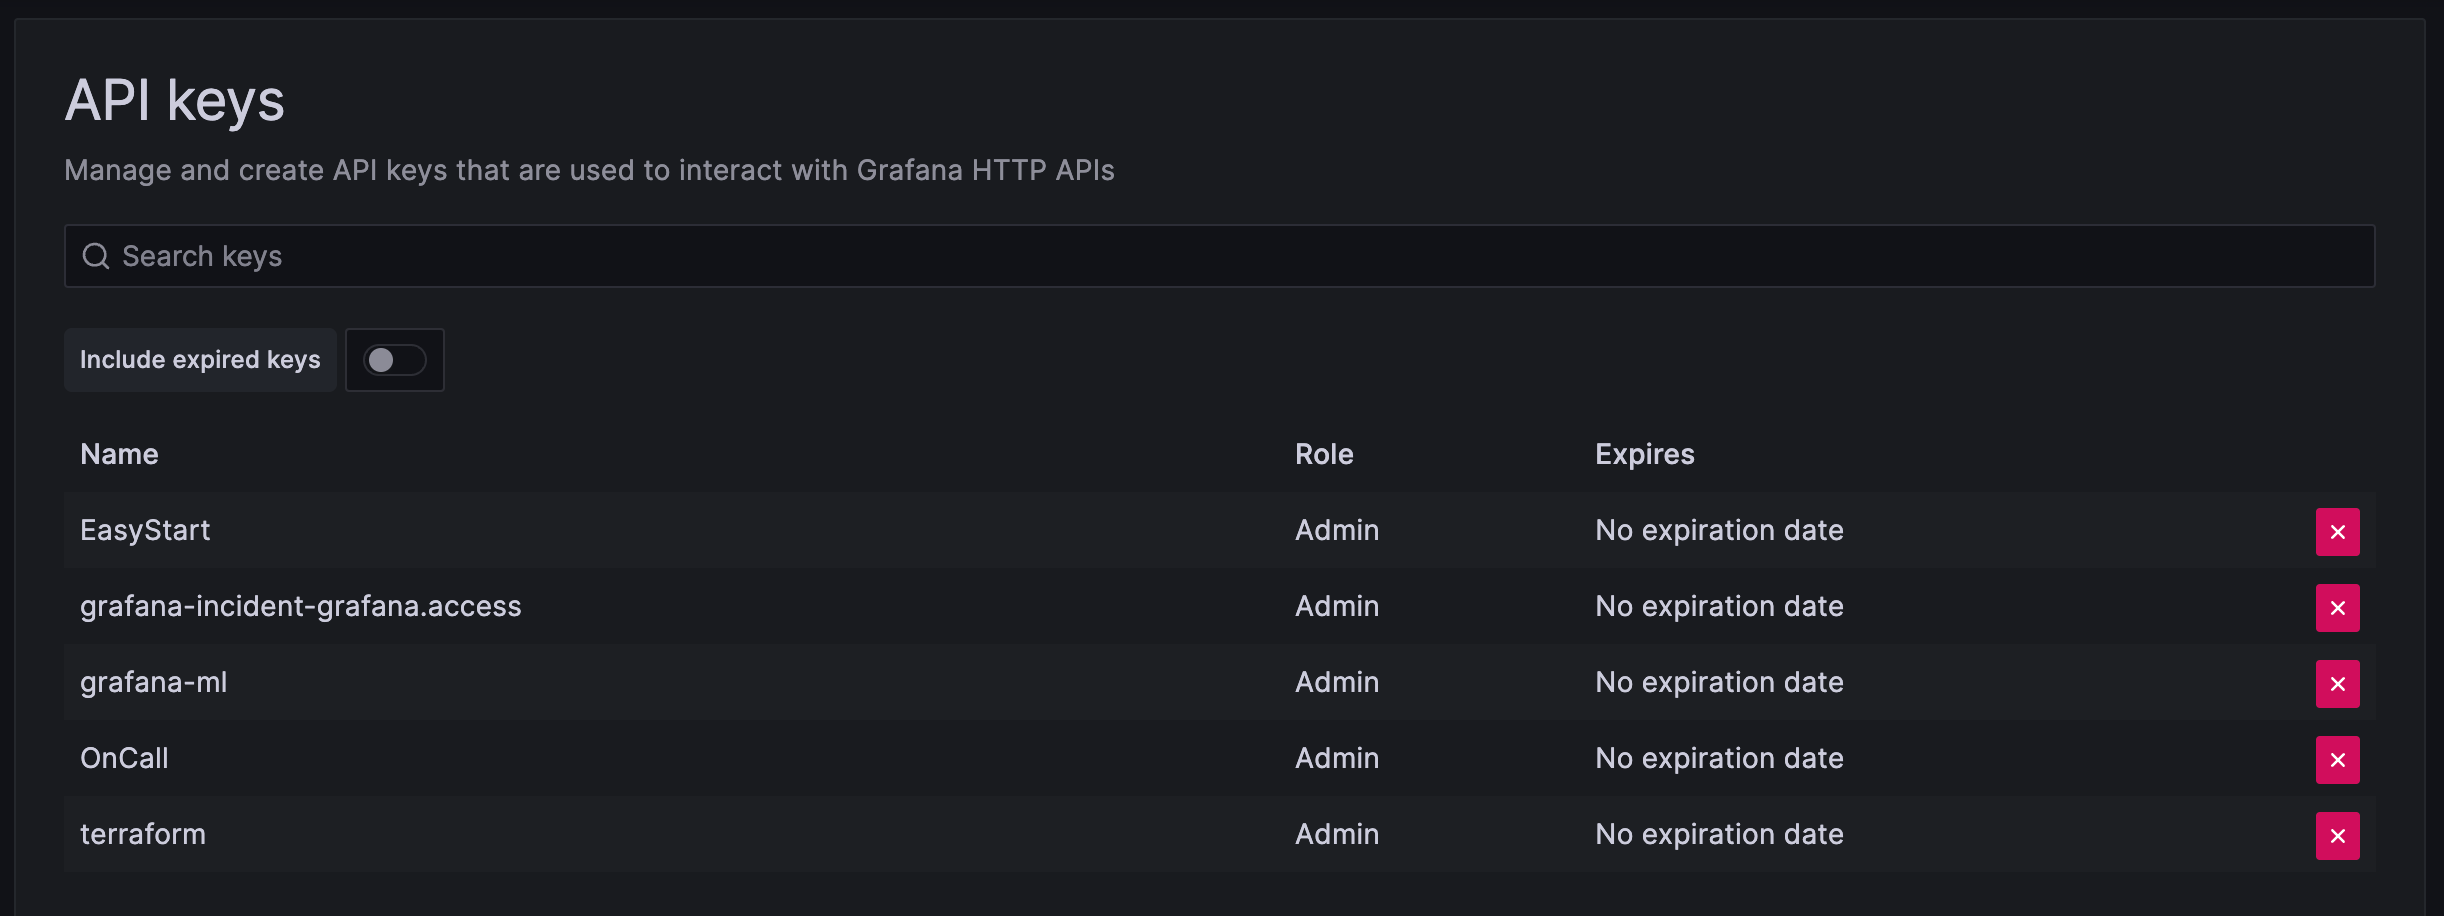
A service account key token is added in your Grafana instance. In the following image, the service account key token named “terraform serviceaccount key” was added by the grafana_cloud_stack_service_account_token (Resource).
![API Key]()
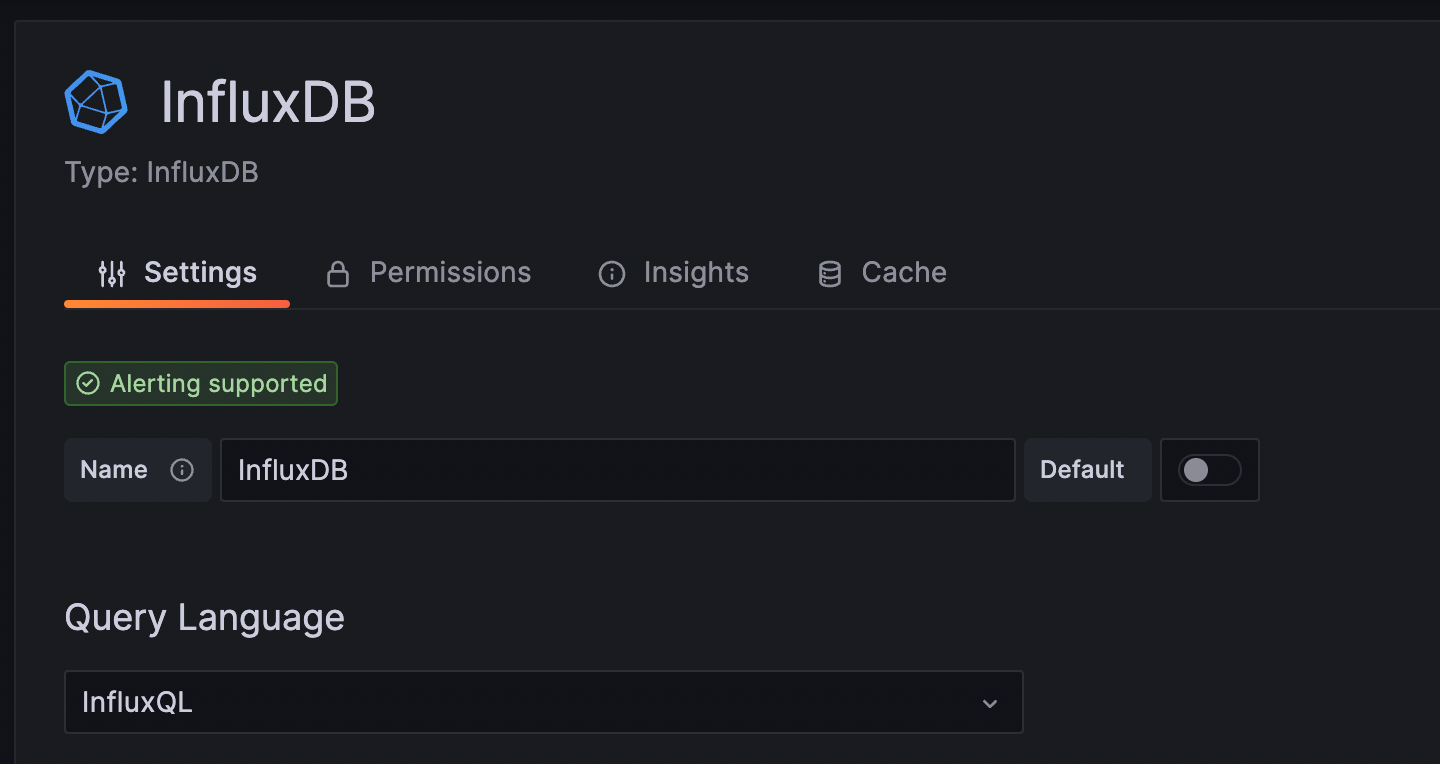
A new data source (InfluxDB in this example) is visible in the grafana instance.
![InfluxDB data source]()
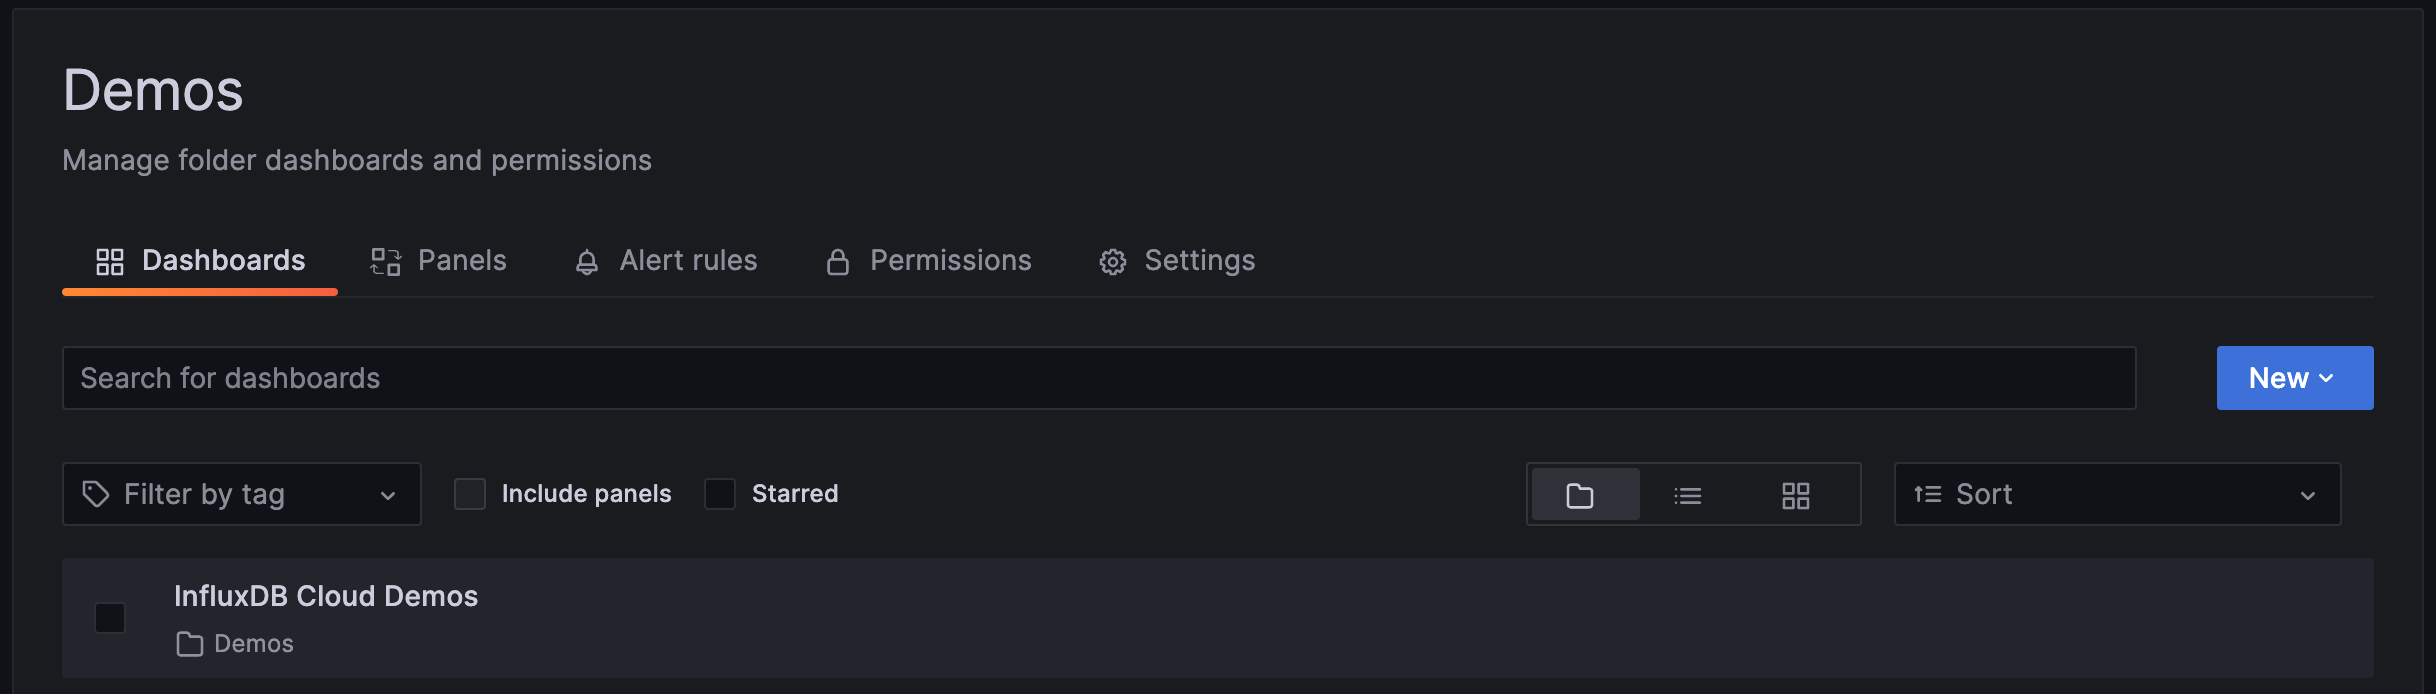
A new folder in Grafana. In the following image, a folder named “Demos” was added by the grafana_folder (Resource).
![Folder]()
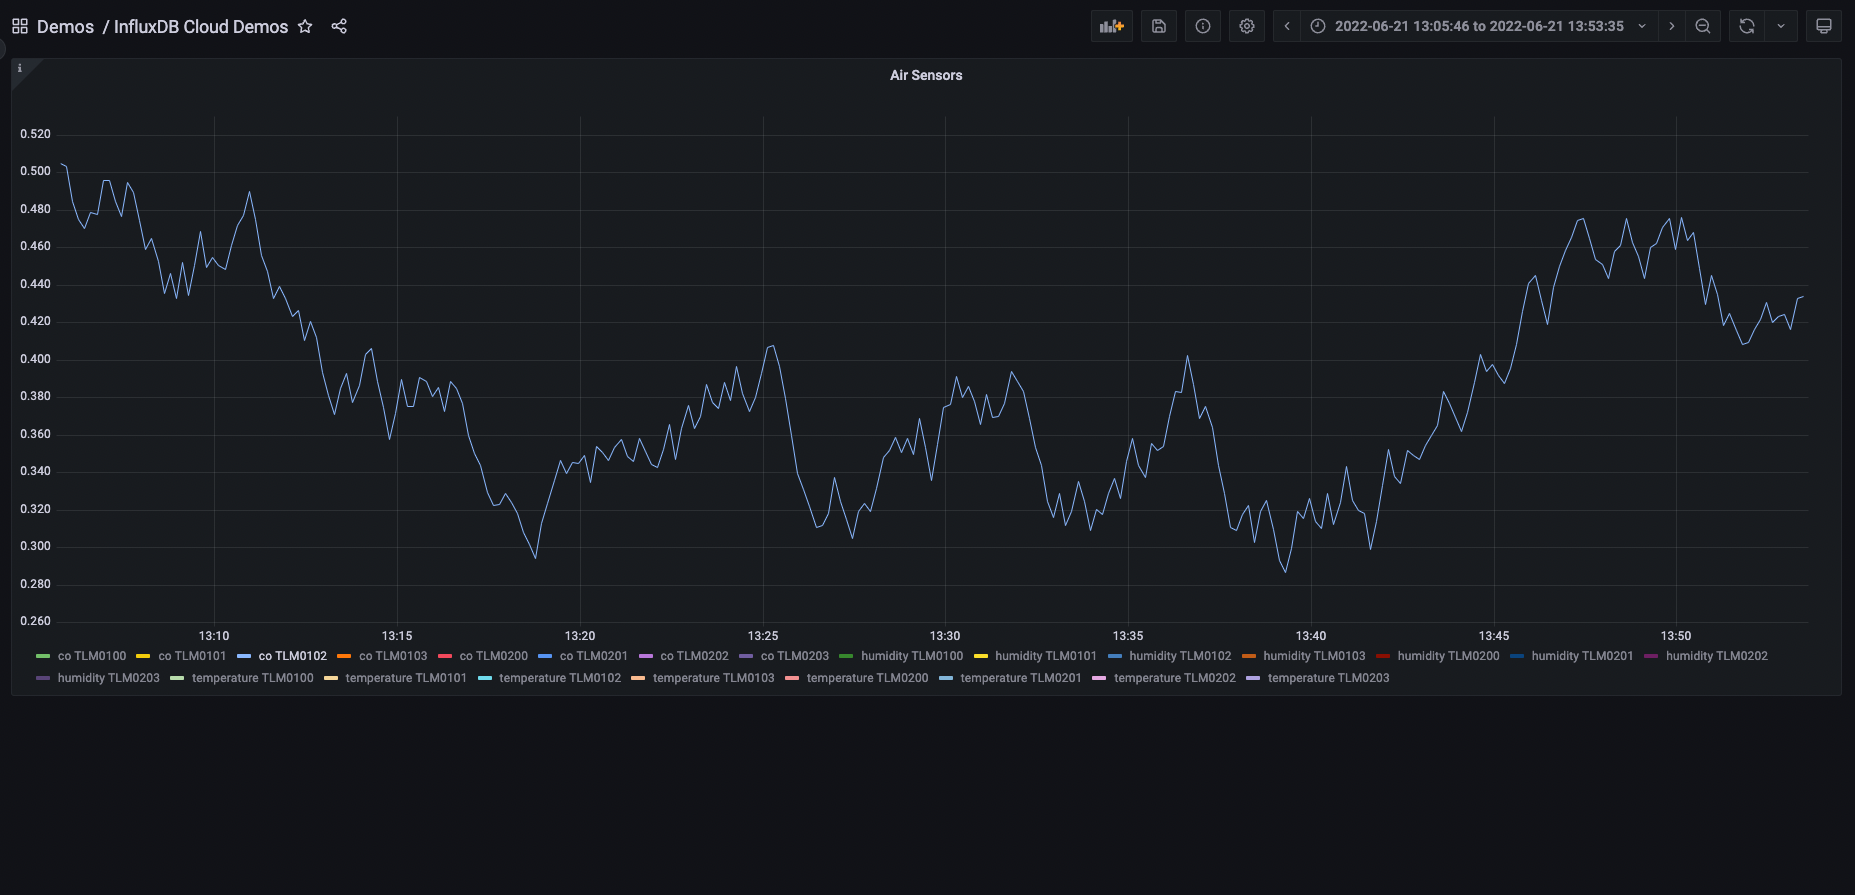
A new dashboard in the Grafana instance. In the following image a dashboard named “InfluxDB Cloud Demos” was created inside the “Demos” folder.
![InfluxDB dashboard]()
Summary
In this guide, you created a Grafana Cloud stack along with a data source, folder, and dashboard imported from a JSON file using Terraform.
To learn more about managing Grafana Cloud using Terraform, refer to the Grafana provider documentation.


