Important: This documentation is about an older version. It's relevant only to the release noted, many of the features and functions have been updated or replaced. Please view the current version.
Create and edit message templates
You can use message templates to customize notification messages for the contact point types.
Create a message template:
To create a message template, complete the following steps.
- In the Grafana menu, click the Alerting (bell) icon to open the Alerting page listing existing alerts.
- In the Alerting page, click Contact points to open the page listing existing contact points.
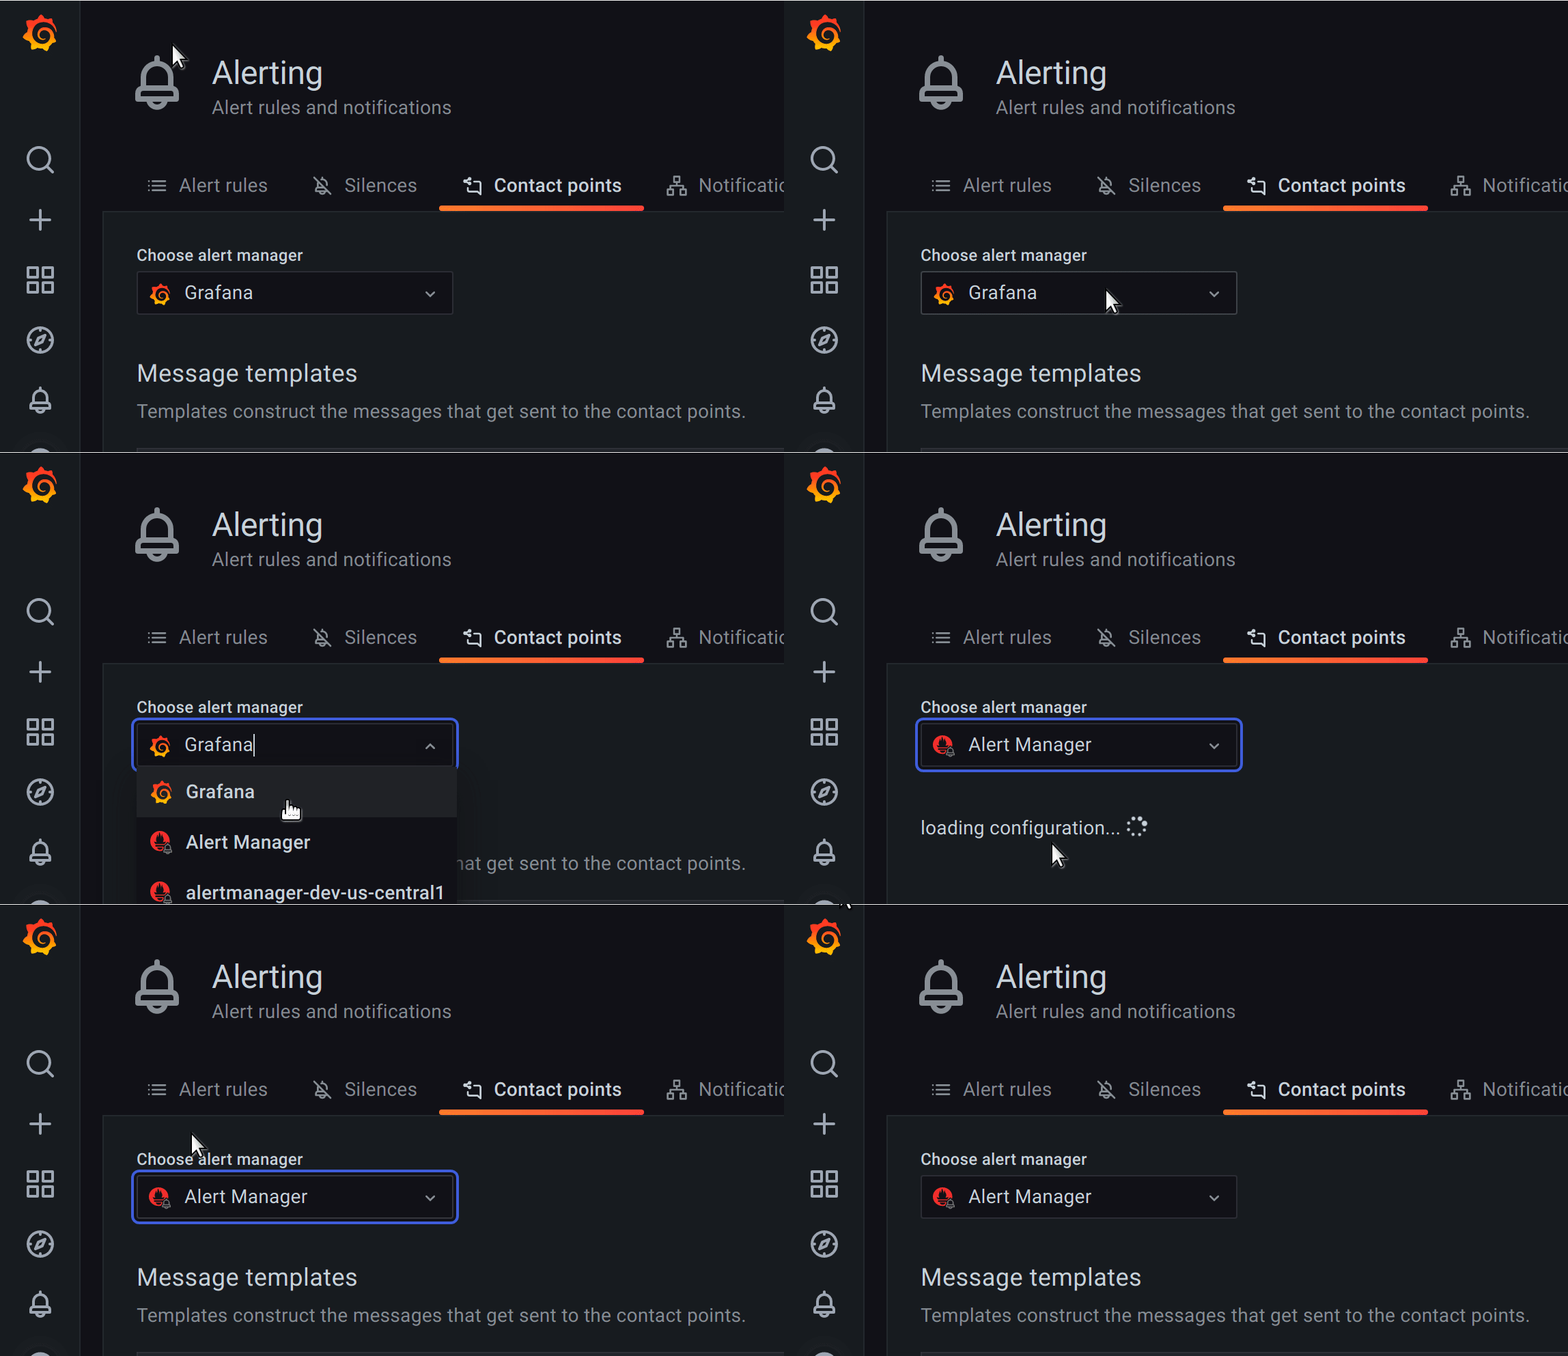
- From Alertmanager drop-down, select an external Alertmanager to create and manage templates for the external data source. Otherwise, keep the default option of Grafana.
![Select Alertmanager Select Alertmanager]()
Select Alertmanager - Click Add template.
- In Name, add a descriptive name.
- In Content, add the content of the template.
- Click Save template button at the bottom of the page.

The define tag in the Content section assigns the template name. This tag is optional, and when omitted, the template name is derived from the Name field. When both are specified, it is a best practice to ensure that they are the same.
Edit a message template:
To edit a message template, complete the following steps.
- In the Alerting page, click Contact points to open the page listing existing contact points.
- In the Template table, find the template you want to edit, then click the Edit (pen icon).
- Make your changes, then click Save template.
Delete a message template:
To delete a message template, complete the following steps.
- In the Alerting page, click Contact points to open the page listing existing contact points.
- In the Template table, find the template you want to delete, then click the Delete (trash icon).
- In the confirmation dialog, click Yes, delete to delete the template.
Use caution when deleting a template since Grafana does not prevent you from deleting templates that are in use.
Create a custom template
Here’s an example of how to use a custom template. You can also use the default template included in the setup.
Step 1: Configure a template to render a single alert.
{{ define "myalert" }}
  [{{.Status}}] {{ .Labels.alertname }}

  Labels:
  {{ range .Labels.SortedPairs }}
    {{ .Name }}: {{ .Value }}
  {{ end }}

  {{ if gt (len .Annotations) 0 }}
  Annotations:
  {{ range .Annotations.SortedPairs }}
    {{ .Name }}: {{ .Value }}
  {{ end }}
  {{ end }}

  {{ if gt (len .SilenceURL ) 0 }}
    Silence alert: {{ .SilenceURL }}
  {{ end }}
  {{ if gt (len .DashboardURL ) 0 }}
    Go to dashboard: {{ .DashboardURL }}
  {{ end }}
{{ end }}
Step 2: Configure a template to render entire notification message.
{{ define "mymessage" }}
  {{ if gt (len .Alerts.Firing) 0 }}
    {{ len .Alerts.Firing }} firing:
    {{ range .Alerts.Firing }} {{ template "myalert" .}} {{ end }}
  {{ end }}
  {{ if gt (len .Alerts.Resolved) 0 }}
    {{ len .Alerts.Resolved }} resolved:
    {{ range .Alerts.Resolved }} {{ template "myalert" .}} {{ end }}
  {{ end }}
{{ end }}
Step 3: Add mymessage in the notification message field.
Alert summary:
{{ template "mymessage" . }}
Template data
Template data is passed on to message templates as well as sent as payload to webhook pushes.
The Alerts type exposes functions for filtering alerts:
Alerts.Firingreturns a list of firing alerts.Alerts.Resolvedreturns a list of resolved alerts.
Alert
KeyValue
KeyValue is a set of key/value string pairs that represent labels and annotations.
Here is an example containing two annotations:
{
  "summary": "alert summary",
  "description": "alert description"
}
In addition to direct access of data (labels and annotations) stored as KeyValue, there are also methods for sorting, removing and transforming.


