Block editor
The block editor is a visual authoring tool built into Pathfinder. You can use it to compose your own interactive guides without writing any JSON, save them as drafts, publish them to your Grafana instance, and update them as your processes change.
This page walks you through:
- Who can use the block editor
- Open the block editor
- Anatomy of the editor
- Create your first guide
- The block types
- Record interactive steps
- Save, publish, and update
- The guide library
- View modes
- The pop out button
- Troubleshooting
Who can use the block editor
The block editor is available to users with editor or admin permissions in Grafana. The editor tab does not appear in the sidebar for viewers. Published guides are visible to all users on the Grafana instance, regardless of role.
Custom guides are private to the Grafana stack they are published on — they are stored in the Pathfinder backend that runs alongside Grafana and are not shared between stacks or organizations.
Open the block editor
The block editor lives inside the Pathfinder docs panel.
- Click the Help icon in the top navigation bar to open the Pathfinder sidebar.
- In the sidebar’s tab bar, click the Editor tab (pencil icon).
If you don’t see the Editor tab, your account does not have the editor or admin role on this Grafana instance — ask an administrator to update your permissions.
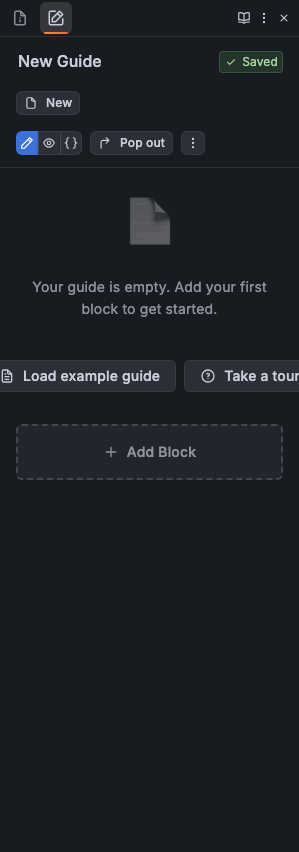
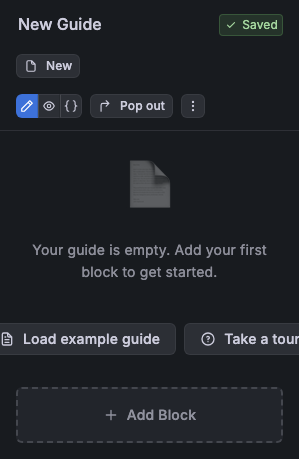
Anatomy of the editor
When you open the editor for a new guide, you see the empty canvas:
Create your first guide
The fastest way to learn the editor is to build a small guide end to end.
1. Name your guide
Click the title at the top and type a name. Press Enter or click away to confirm. The first time you save, the editor creates a unique guide ID by slugifying the title and appending a four-character random suffix (for example, setting-up-dashboards-a3f9). The ID is locked after the first save — renaming the title later does not change it.
2. Add your first block
Click + Add Block at the bottom of the editor. The block palette opens with every block type available on this instance:
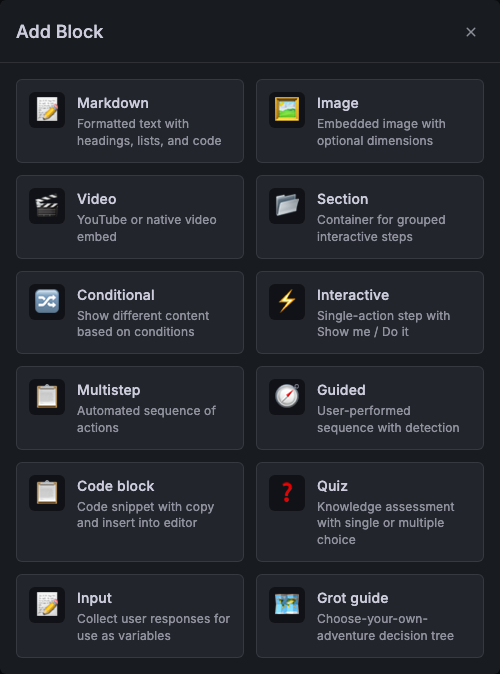
Pick Markdown for a plain text introduction. Each block type opens its own form:
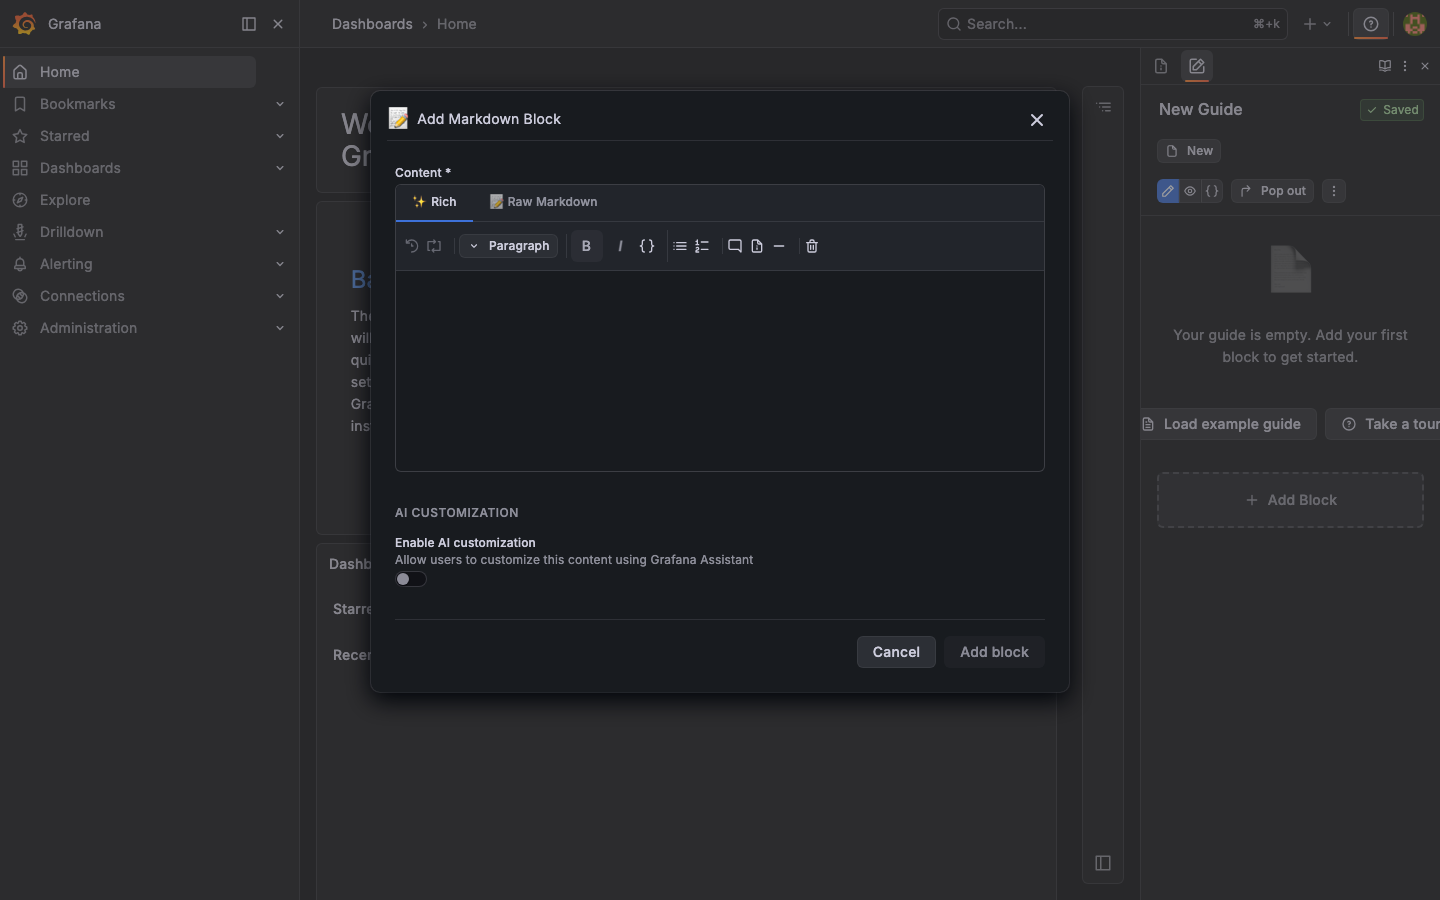
Fill in the content and click Add block. The form closes and your block appears in the canvas.
3. Add interactive steps
To teach a user how to do something in Grafana, add an Interactive block. The form has an Action Type dropdown (highlight, button, form fill, navigate, hover, info, popout) and a Target selector field with a built-in Pick element button:
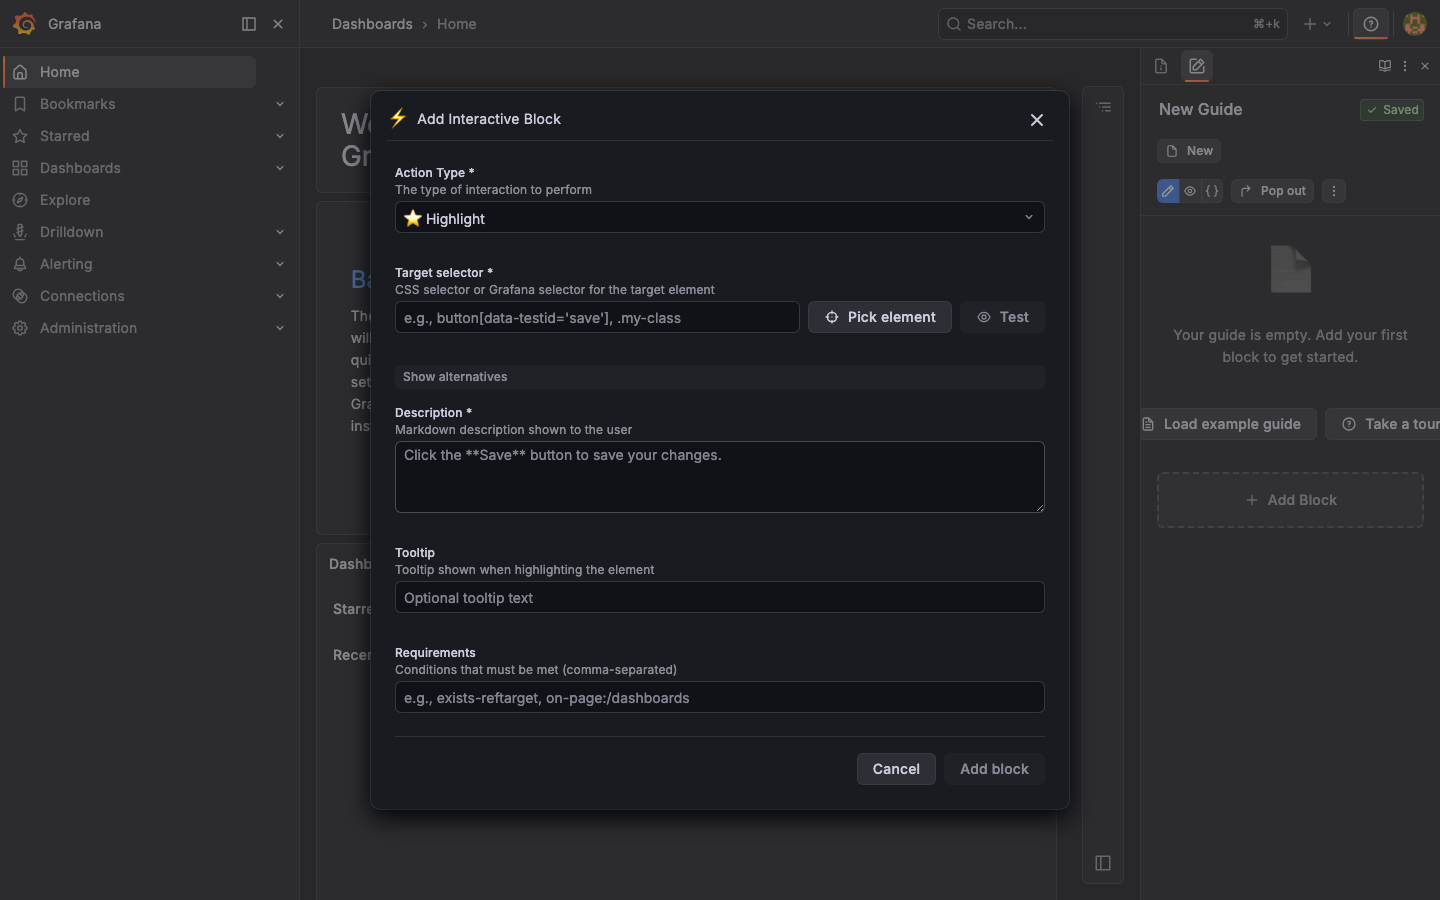
The Pick element button activates a click-anywhere selector picker — point at the element you want the guide to highlight, click it, and the editor fills in the most stable selector it can find. The Selector Health badge next to the field gives you a green/yellow/red signal on how robust the selector is, and the Test button flashes the matched element on the page so you can confirm it’s the right one.
For automated sequences, use a Multistep block (the system performs each step in order when the user clicks Do it). For sequences the user must perform themselves, use a Guided block (the system highlights each step and waits for the user to act).
4. Group steps with sections
When you have several related steps, wrap them in a Section block. Sections give the user a single “Do section” button that runs the entire sequence and adds clear visual structure to your guide.
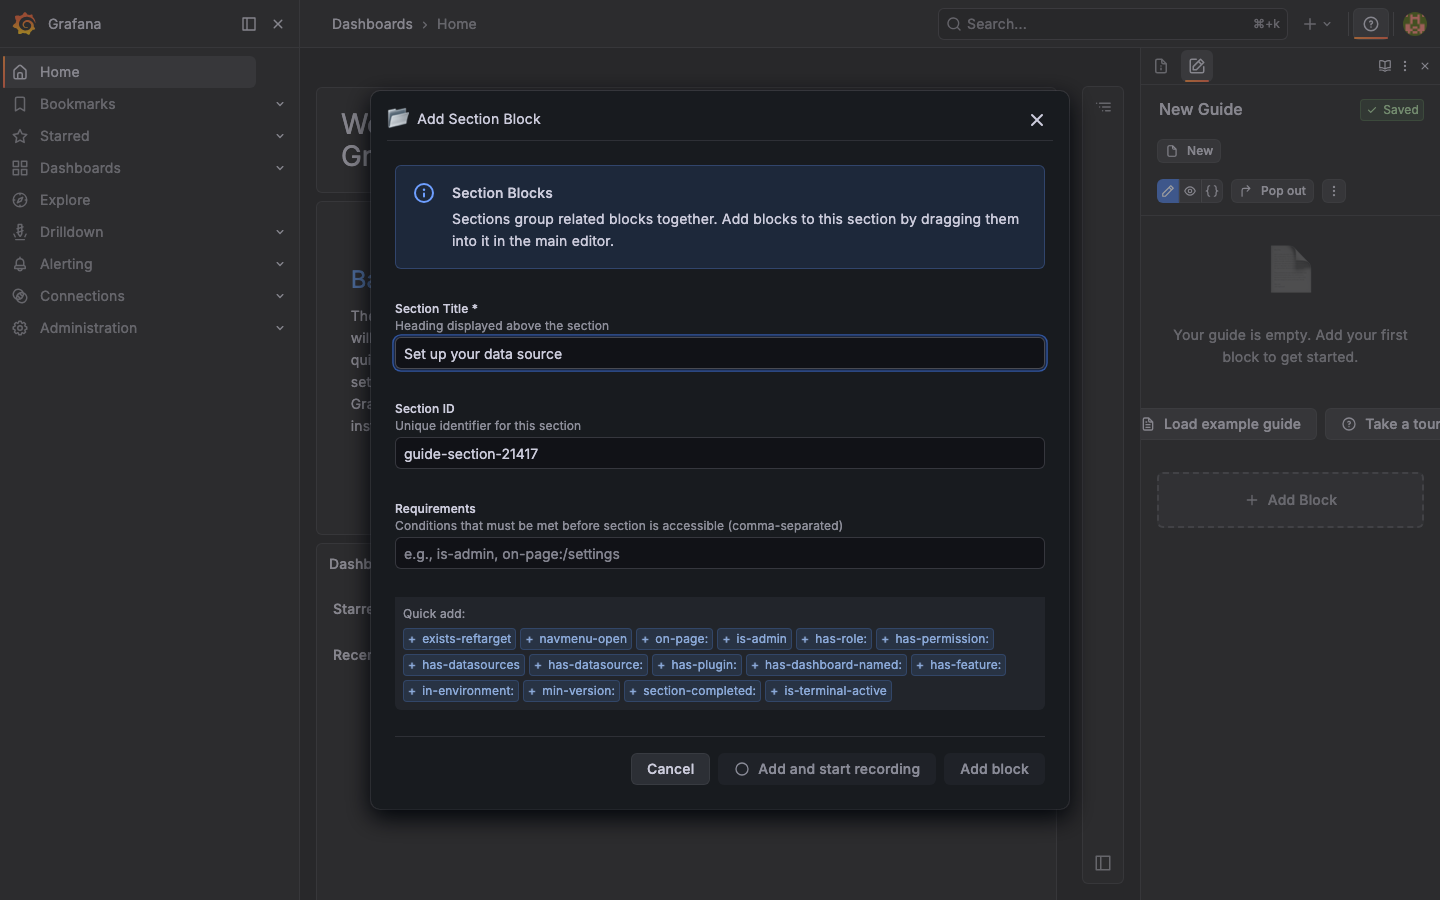
If you turn on Add and record, the editor immediately enters recording mode and captures every interaction you perform in Grafana as steps inside the new section.
5. Build out the guide
Keep adding blocks until your guide tells a complete story. The canvas shows each block in order with quick edit, duplicate, and delete buttons:
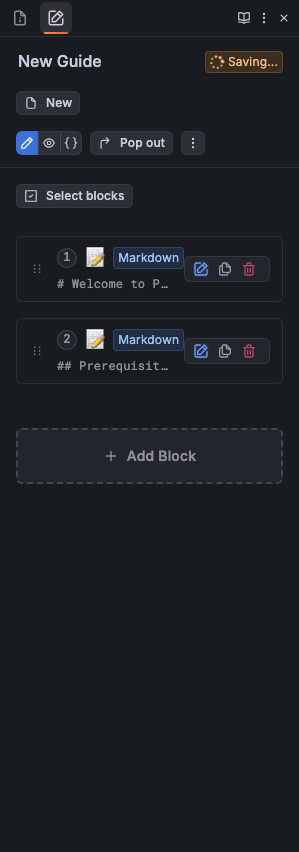
You can drag blocks by their handle to reorder them, or use Select blocks to pick several in one go (useful for merging sequential steps into a single multistep block).
6. Save and publish
The primary button in the header reflects your guide’s lifecycle. Start with Save as draft — see the Save, publish, and update section below for the full flow.
The block types
If your administrator has enabled the Coda terminal integration, the palette also exposes Terminal (a runnable shell command) and Terminal connect (a button that provisions a sandbox VM and opens a terminal panel) blocks.
Record interactive steps
You don’t have to write selectors by hand. Click Add and record on a section block, or Record on an empty multistep or guided block, to enter recording mode. A banner appears at the bottom of the screen and the editor watches what you do in Grafana:
- A click on a button is recorded as a
buttonaction. - Typing in an input is recorded as a
formfillaction when you blur the field. - Hold Shift while clicking to record a
hoverstep instead of a click — handy for menus and rows that only show their actions on hover. - Hold Alt while clicking to force a
formfillcapture on any element.
Click Stop in the banner when you’re done. Each recorded action becomes a step inside the active block. You can then edit individual steps (drag to reorder, change action type, tweak target, add tooltips) just like manually-created ones.
Save, publish, and update
Pathfinder tracks two storage tiers for every guide:
- Browser (localStorage) — auto-saves while you work so a refresh never loses progress. The “Saved” / “Saving…” indicator in the header reflects this.
- Pathfinder backend — saves drafts and published guides on the server. The status badge (Draft, Published, etc.) reflects this.
Lifecycle
The ⋮ menu always exposes the alternative actions for your current state — for example, Publish when the primary is Update draft, or Unpublish when the guide is published:
Edit a published guide
- Open the Library from the editor header.
- Click Load next to the guide.
- Make your changes — the badge changes to Published (modified).
- Click Update to push the changes live. Users see the new version on their next refresh.
Unpublish
Open the ⋮ menu and pick Unpublish. The guide disappears from the docs panel immediately, but the draft stays in your library so you can re-publish whenever you’re ready.
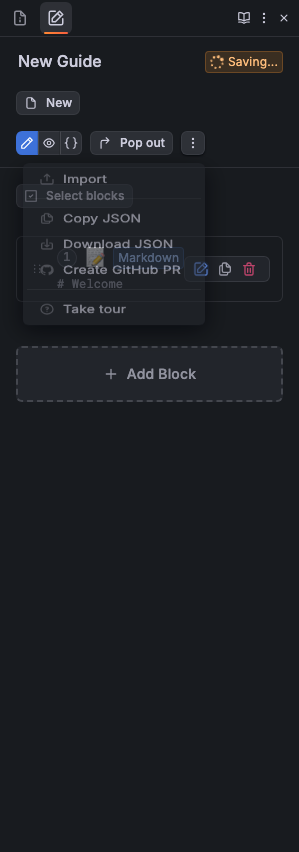
The guide library
Click Library in the header to see every guide stored in the Pathfinder backend, both drafts and published. From the library you can:
- Load a guide into the editor for editing.
- Delete a guide permanently (you’ll be asked to confirm).
- Refresh the list to pick up changes made by other authors.
Drafts are only visible in the library — they don’t appear in the docs panel sidebar. Only published guides reach end users.
View modes
The view mode toggle in the header switches between three views of the same guide.
Edit
The default authoring view. The block palette and per-block edit/delete buttons are all available.
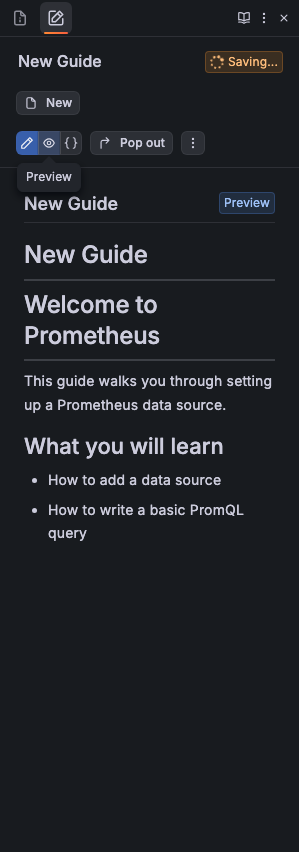
Preview
A read-only render of how the guide looks to end users. Use it to check formatting, conditional branches, and overall flow before you publish.
JSON
The raw JSON of the guide. You can edit it directly here for fine-grained tweaks or to paste in a guide someone else shared with you.
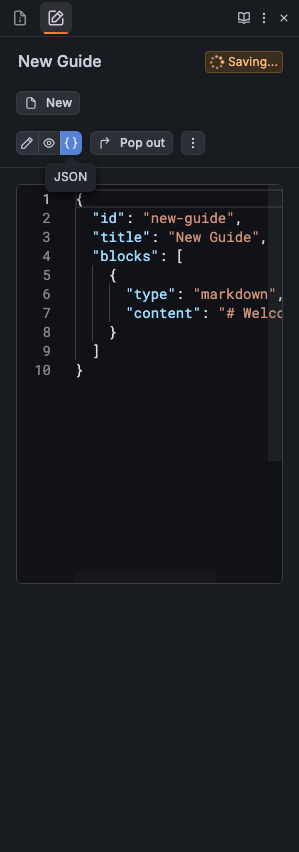
If your edit produces invalid JSON, the editor refuses to switch back to Edit mode until you fix it.
The pop out button
The Pop out button next to the view mode toggle detaches the entire docs panel into a floating, resizable, draggable window. This is helpful when:
- You’re recording a guide and need the right sidebar for something else (for example, Grafana Assistant).
- You want to compare side-by-side what an end user sees while you author.
- You’re presenting and need the guide above another tool.
You can drag the floating window anywhere on screen, resize it from any edge, or minimize it to a small pill. Click Pop out again (or drag the window back to the right edge) to dock it back into the sidebar.
You can also build a popout step type into your guide — see Interactive types for the schema reference.
Troubleshooting
The Editor tab isn’t visible
You need editor or admin permissions on this Grafana instance. Ask an administrator to update your role, or check that you’re logged in as the right user.
Selector Health badge is yellow or red
The badge measures how stable the selector is likely to be across Grafana versions. Yellow usually means the selector is too generic (matches several elements). Red typically means it depends on auto-generated CSS class names that are likely to change. Use Pick element again, or click Show alternatives in the form to see other candidates with their stability scores.
Recording captured the wrong step
Stop recording, edit or delete the unwanted step from the canvas, and start a new recording. Steps captured during recording are otherwise identical to manually-created ones, so any post-recording cleanup happens in the same forms.
“Save as draft” is greyed out
The Pathfinder backend isn’t reachable. The editor falls back to localStorage-only saving when this happens, so your work is not lost — but you need backend connectivity to save, publish, or share guides. Check with your Grafana administrator that the Pathfinder backend is healthy.
My guide doesn’t appear in the docs panel after publishing
Refresh the page. The docs panel reads the list of published custom guides on load.
See also
- Interactive types — reference for every action type, including
popout. - JSON guide format — full schema for the JSON you see in JSON view mode.
- Selectors reference — how to choose stable selectors when the picker doesn’t pick the one you want.


