
Plugins 〉Quickwit


Quickwit


Quickwit data source for Grafana
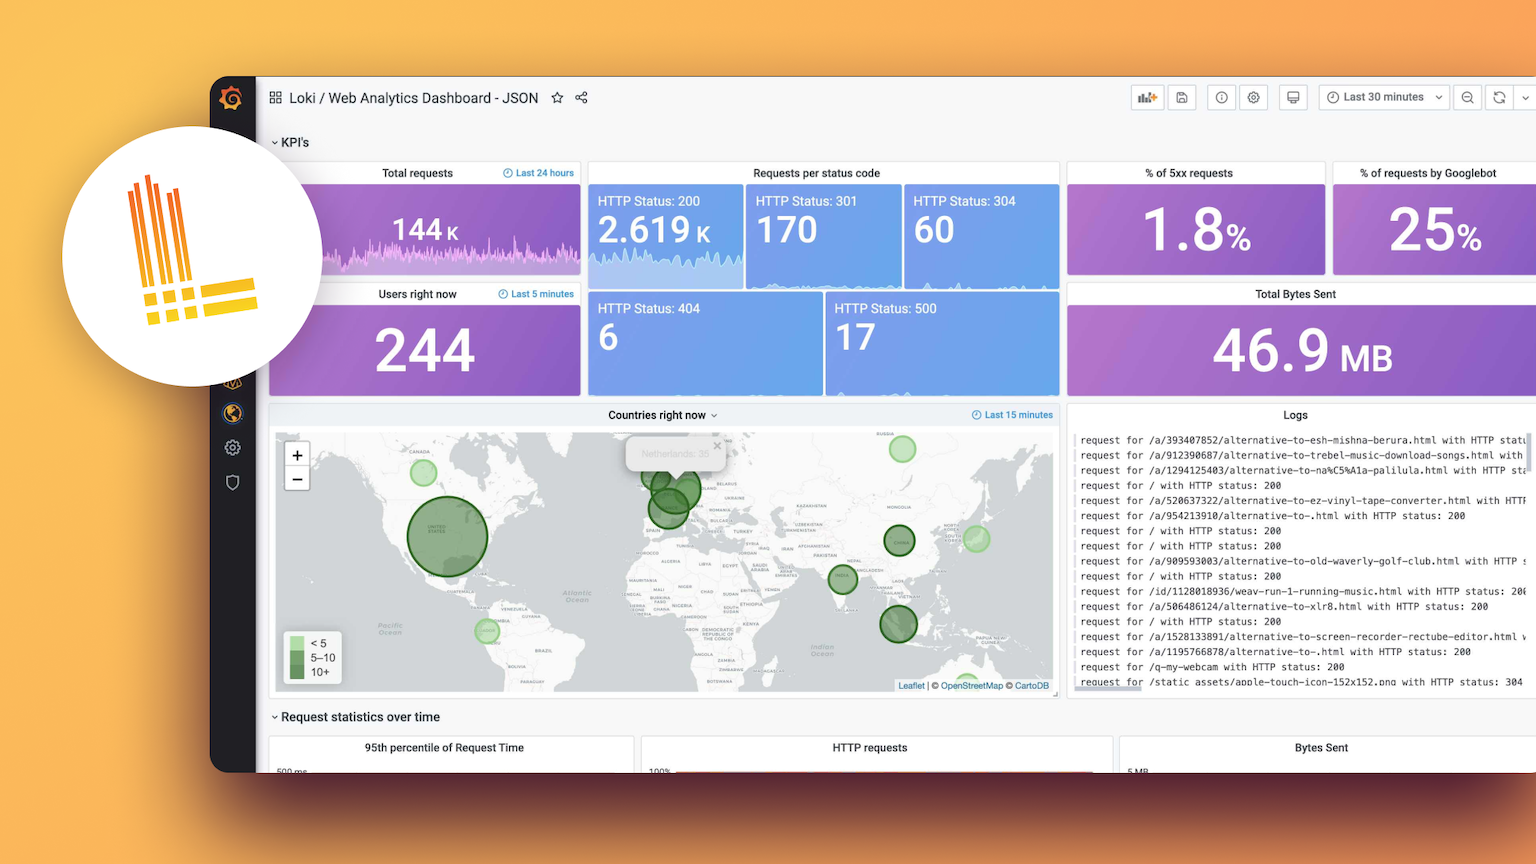
The Quickwit data source plugin allows you to query and visualize logs, traces, and indexed data in Quickwit within Grafana.
Requirements
You need a Quickwit standalone server or cluster.
Configuration
- Add a new data source in Grafana
- Select the Quickwit data source plugin
- Enter your Quickwit server URL
- Enter your index ID and related information.
- Save and test the datasource.
Features
The Quickwit data source plugin works with dashboards and explore views. Alerts are also available.
Installation
Installation on Grafana Cloud
For more information, visit the docs on plugin installation.
Installation with Grafana CLI
grafana-cli plugins install quickwit-quickwit-datasource
Installation with Docker
- Add the plugin to your
docker-compose.ymlorDockerfile - Set the environment variable
GF_INSTALL_PLUGINSto include the plugin
GF_INSTALL_PLUGINS="quickwit-quickwit-datasource"
Grafana Cloud Free
- Free tier: Limited to 3 users
- Paid plans: $55 / user / month above included usage
- Access to all Enterprise Plugins
- Fully managed service (not available to self-manage)
Self-hosted Grafana Enterprise
- Access to all Enterprise plugins
- All Grafana Enterprise features
- Self-manage on your own infrastructure
Installing Quickwit on Grafana Cloud:
Installing plugins on a Grafana Cloud instance is a one-click install; same with updates. Cool, right?
Note that it could take up to 1 minute to see the plugin show up in your Grafana.
Warning
Plugin installation from this page will be removed in February 2026. Use the Plugin Catalog in your Grafana instance instead. Refer to Install a plugin in the Grafana documentation for more information.
Installing plugins on a Grafana Cloud instance is a one-click install; same with updates. Cool, right?
Note that it could take up to 1 minute to see the plugin show up in your Grafana.
Installing plugins on a Grafana Cloud instance is a one-click install; same with updates. Cool, right?
Note that it could take up to 1 minute to see the plugin show up in your Grafana.
Warning
Plugin installation from this page will be removed in February 2026. Use the Plugin Catalog in your Grafana instance instead. Refer to Install a plugin in the Grafana documentation for more information.
Installing plugins on a Grafana Cloud instance is a one-click install; same with updates. Cool, right?
Note that it could take up to 1 minute to see the plugin show up in your Grafana.
For more information, visit the docs on plugin installation.
Installing on a local Grafana:
For local instances, plugins are installed and updated via a simple CLI command. Plugins are not updated automatically, however you will be notified when updates are available right within your Grafana.
1. Install the Data Source
Use the grafana-cli tool to install Quickwit from the commandline:
grafana-cli plugins install The plugin will be installed into your grafana plugins directory; the default is /var/lib/grafana/plugins. More information on the cli tool.
Alternatively, you can manually download the .zip file for your architecture below and unpack it into your grafana plugins directory.
Alternatively, you can manually download the .zip file and unpack it into your grafana plugins directory.
2. Configure the Data Source
Accessed from the Grafana main menu, newly installed data sources can be added immediately within the Data Sources section.
Next, click the Add data source button in the upper right. The data source will be available for selection in the Type select box.
To see a list of installed data sources, click the Plugins item in the main menu. Both core data sources and installed data sources will appear.
Changelog
0.3.0-beta.1
This version works only with quickwit main version (or docker edge).
- Add support for data links (possibility to create links to other datasources).
0.3.0-beta.0
This version works only with quickwit main version (or docker edge).
- Add support for log context feature.
- Better error handling.
0.2.4
What's Changed
- Pluing is now signed
0.2.3
Fixed
- Add licensing and notice files to respect Grafana Labs license
- Various cleanup: remove console.log, dependency on Grafana simplejson
- Update src/README.md
0.2.2
Fixed
- Fix bug on template variable depending on another template variable
- Fix bug when template variable is used with multiple values
0.2.1
What's Changed
- Add support for template variables
- Update provisioning datasource guide by @hoangphuocbk in https://github.com/quickwit-oss/quickwit-datasource/pull/13
New Contributors
- @hoangphuocbk made their first contribution in https://github.com/quickwit-oss/quickwit-datasource/pull/13
0.2.0
Added
- Add HTTP Basic Auth support
- Clean the datasource parameters stored in the database (breaking change).
Fixed
- Sub aggregations were broken when a sub bucket was empty. This can happen if some document have missing values on the sub field.
0.1.0
Initial release.
Added
- Support Explore with volume an logs panels
- Support for Dashboard
- Support for Alerts
- Metrics supported:
'count', 'avg', 'sum', 'min', 'max', 'percentiles', 'raw_data', 'logs'.