
Configure the GitHub data source
In this milestone, you configure your GitHub data source with the Personal Access Token you created and verify that the connection works correctly. This step establishes the authenticated connection between Grafana and the GitHub API.
Proper authentication ensures that your data source can access the repositories and data you need for your dashboards. The connection test validates that your token has the correct permissions and that the GitHub API is accessible.
In the Name field, enter a descriptive name for your data source.
For example, enter
My GitHub Organization DataorGitHub Repository Data.Did you know? The name of the data source appears on the dashboard panels, so it’s important to choose a meaningful name. If there are multiple data sources for a dashboard panel, the default toggle determines which data source appears by default.
Optionally, enable the Default toggle if you want this to be your default data source when creating new panels.
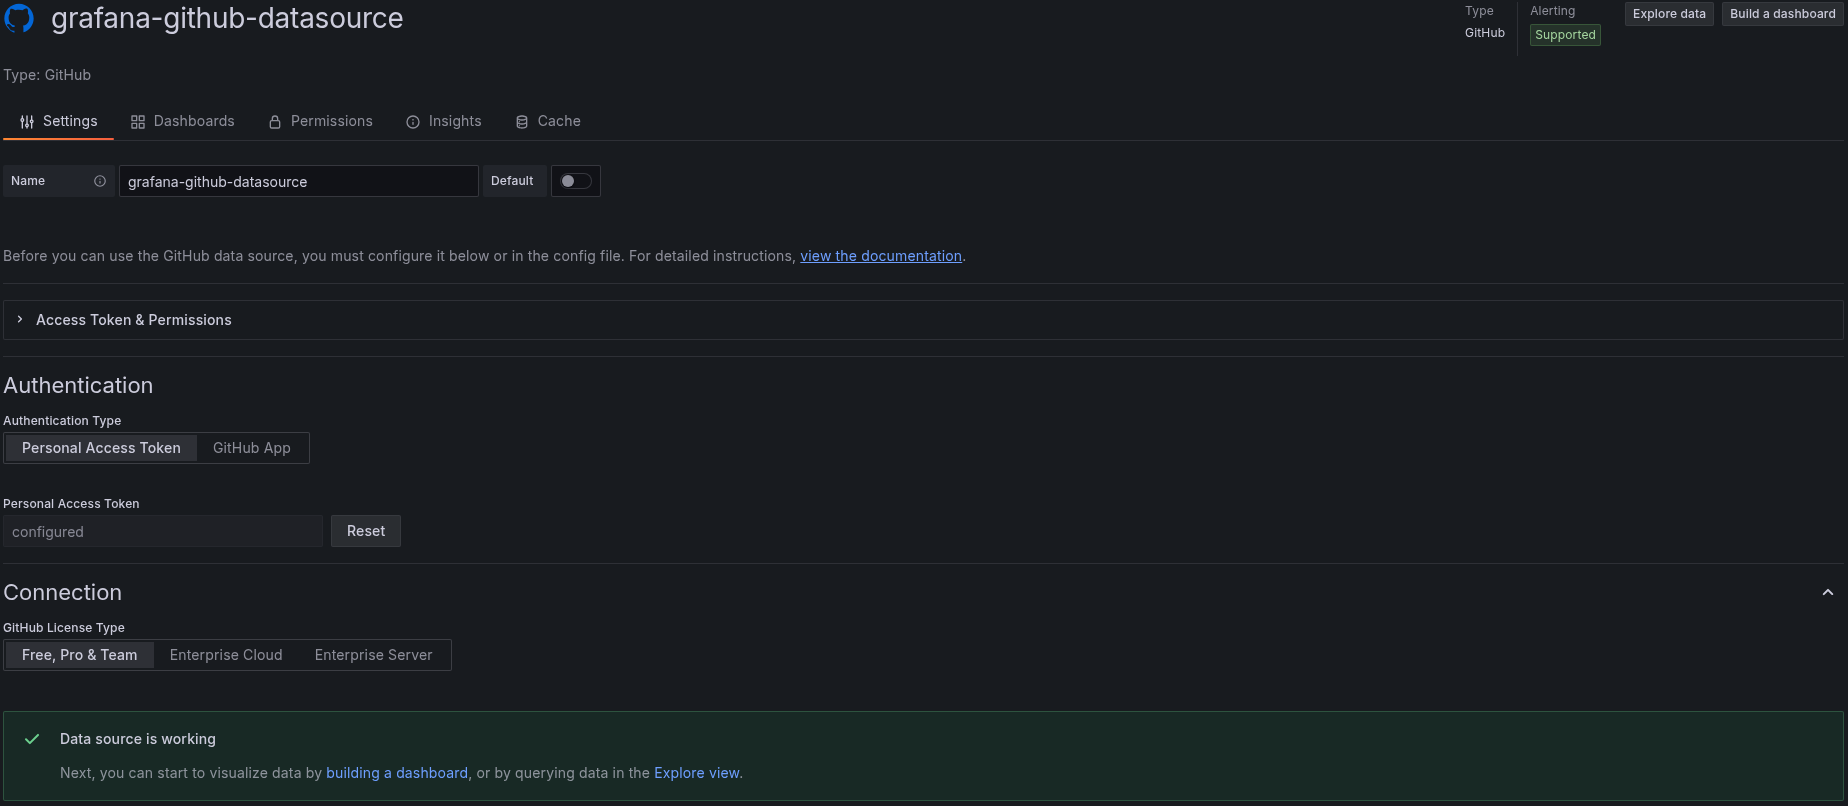
Scroll down to the Authentication section at the bottom of the page.
For Authentication Type, Personal Access Token is selected by default. This is the recommended option for most users.
Paste the GitHub Personal Access Token you created earlier.
Tip: Ensure you paste the complete token without any extra spaces or characters.
Under Connection, select your GitHub License Type:
- Free, Pro & Team (default) - For personal accounts and standard GitHub organizations
- Enterprise Cloud - For GitHub Enterprise Cloud customers
- Enterprise Server - For self-hosted GitHub Enterprise Server
Click Save & test to save the configuration and test the connection.
A successful connection will display a green checkmark with the message “Data source is working”.
Troubleshooting
Explore the following troubleshooting topics if you need help:
Troubleshooting options
Please tell us what didn't work: