How to stream Graphite metrics to Grafana Cloud using carbon-relay-ng
In this post we’ll show how you can easily ship your existing Graphite metrics to Grafana’s managed metric offering using carbon-relay-ng.
Carbon-relay-ng is a fast, go-based carbon-relay replacement that allows you to easily aggregate, filter and route your Graphite metrics.
This post assumes you have a local carbon-relay-ng binary.
You can download carbon-relay-ng binaries from the releases page and find documentation on Docker images, Linux packages, and how to build it yourself here.
Grafana Cloud is a suite of managed services from Grafana Labs including metrics (both Graphite and Prometheus), logs (via Loki), and of course, Grafana for visualization and alerting.
Creating a Grafana Cloud instance
If you don’t already use Grafana Cloud, you can sign up for a free trial.
1. From the Grafana Cloud page, click on “Start your free trial.”
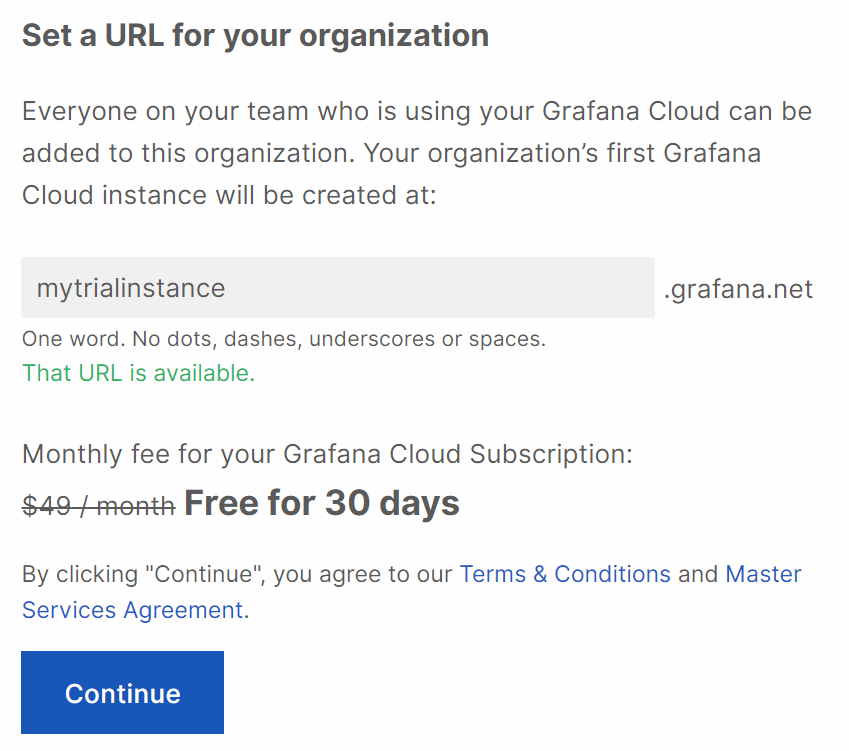
2. Choose a name for your instance.
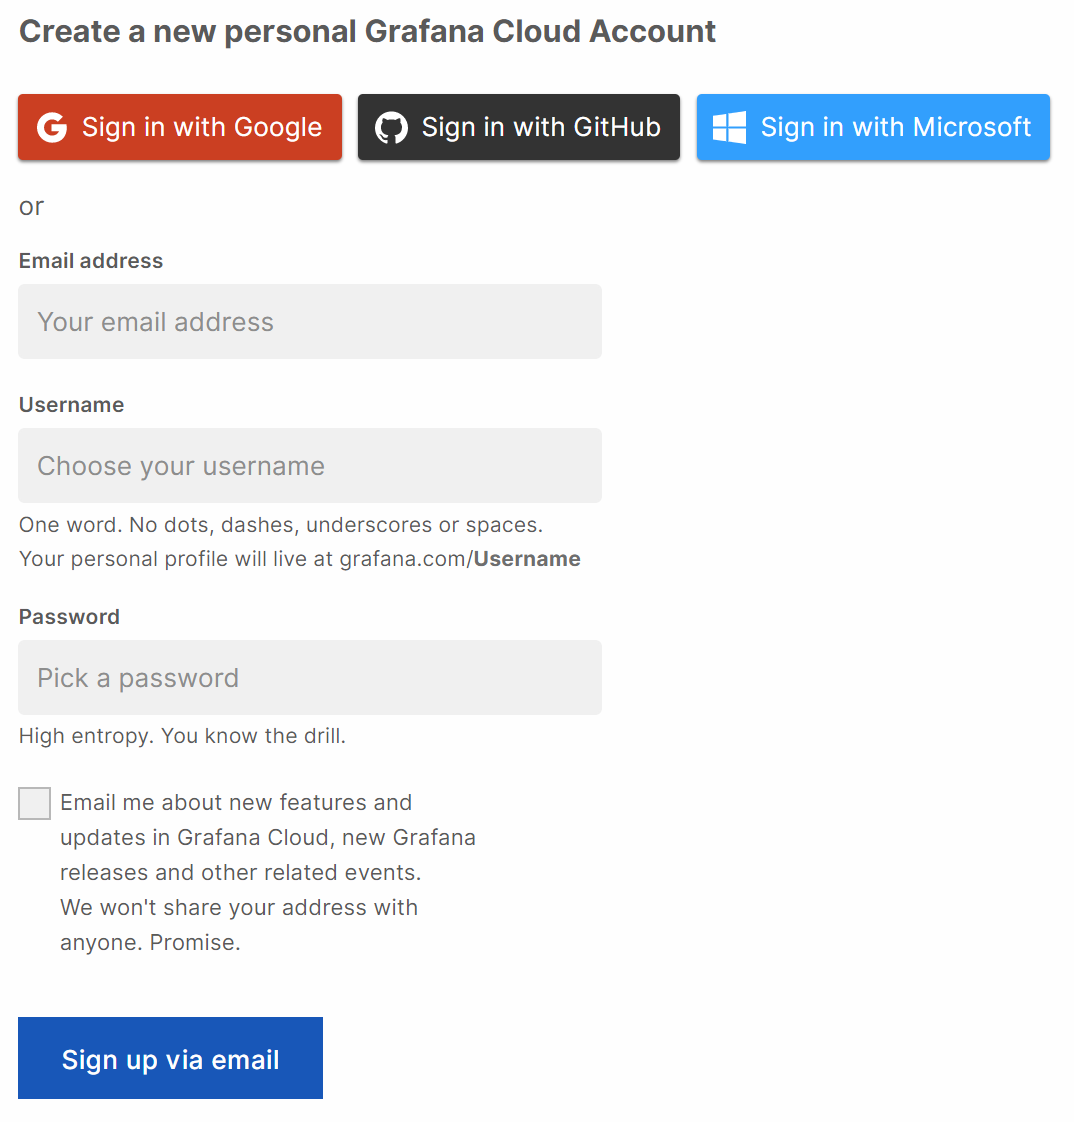
3. Sign in to grafana.net, if you are not already signed in.
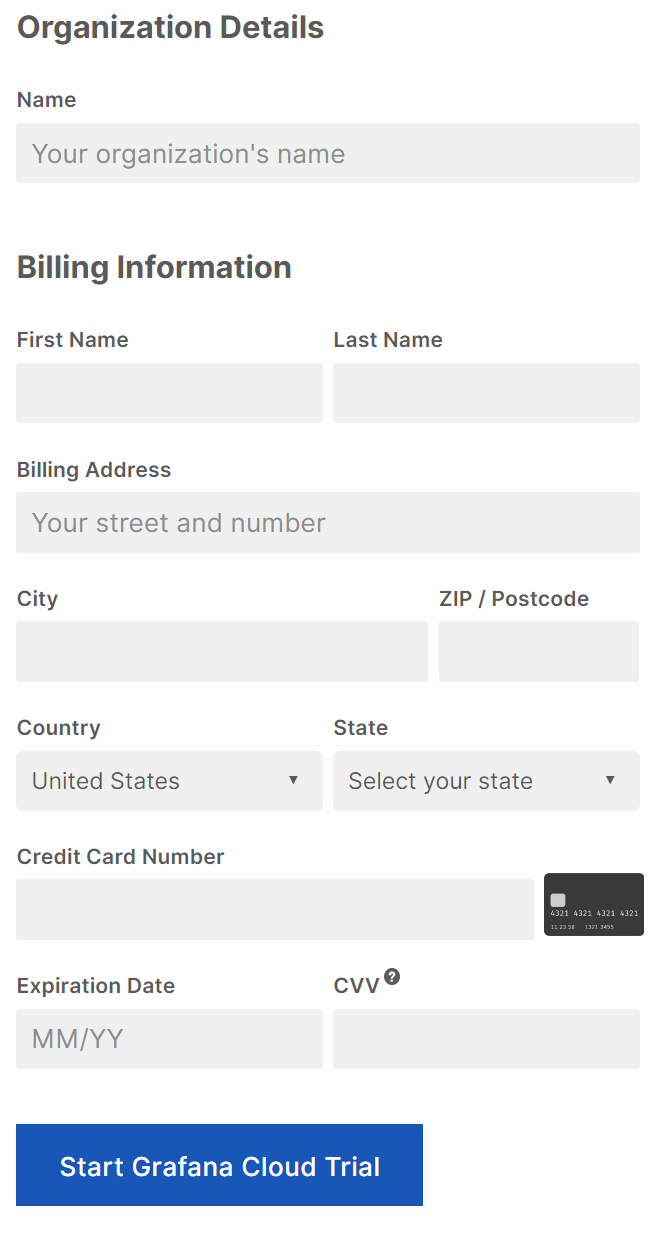
4. Enter your credit card information. You won’t get billed during the 30-day trial.
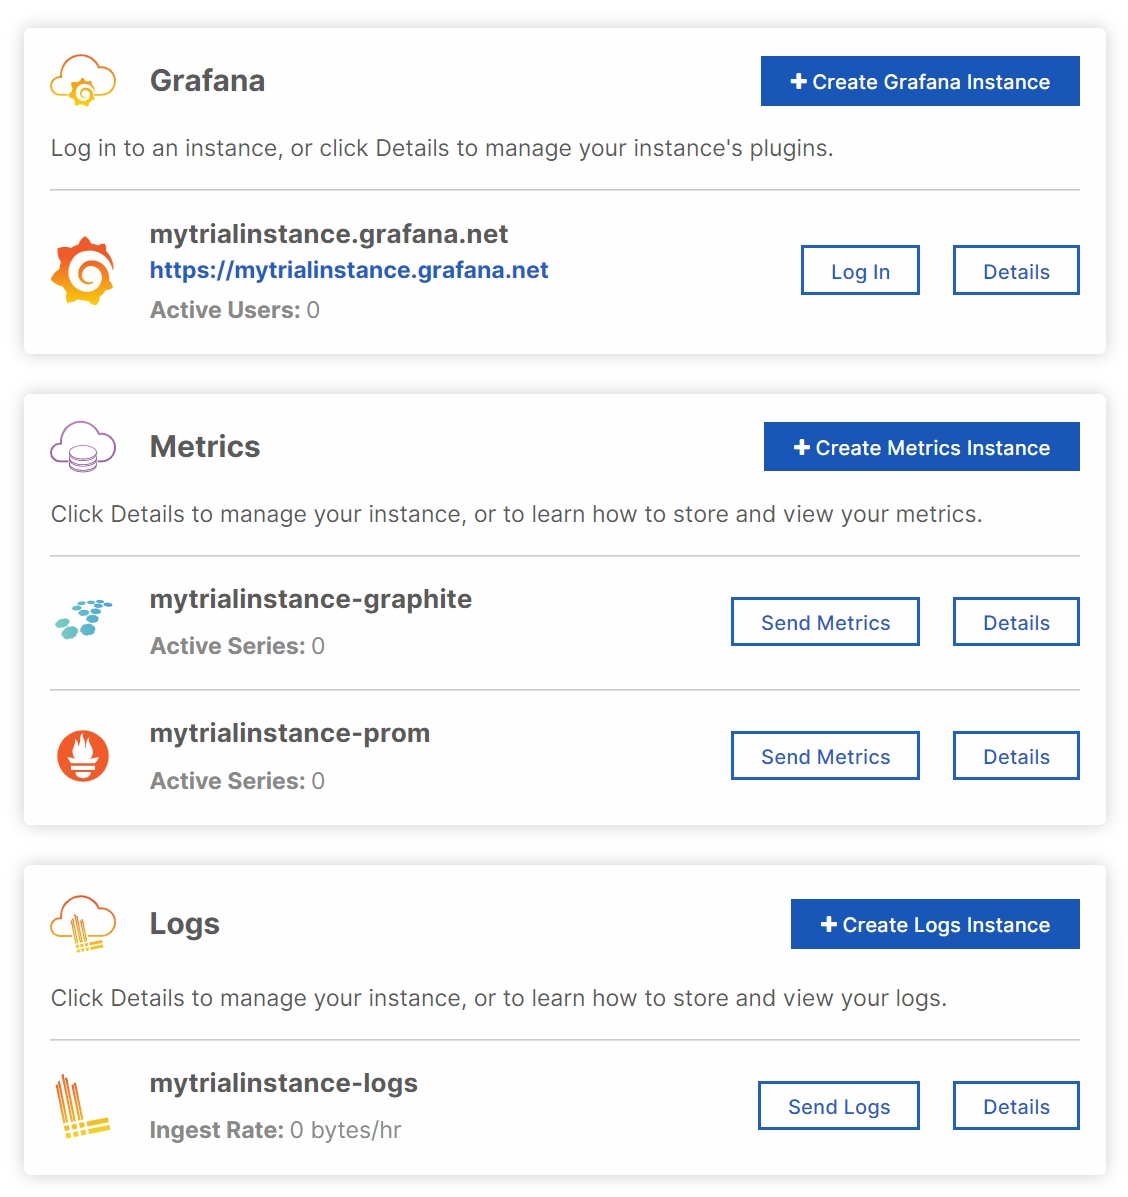
5. Your instance has now been configured, and you can view it by clicking on the “Take me to my Grafana Cloud” button.
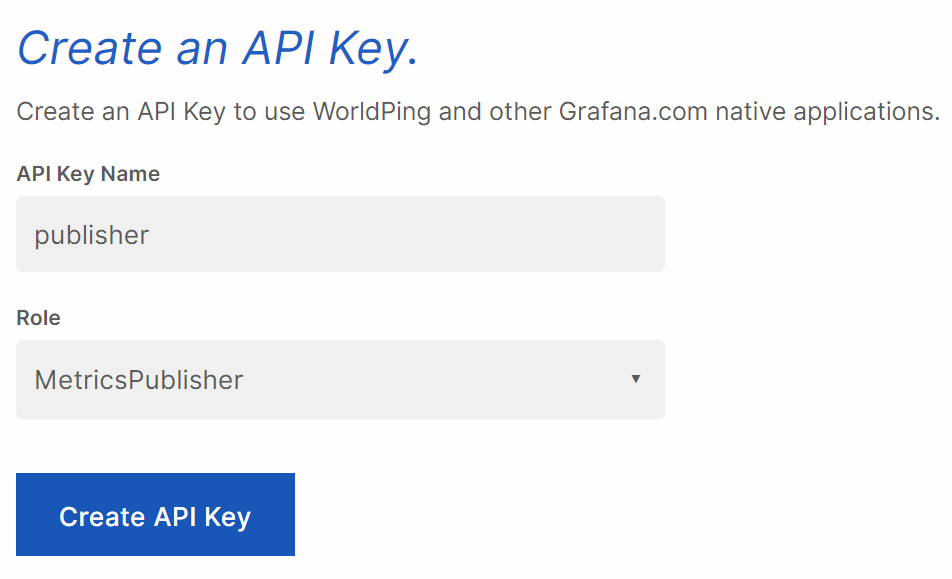
6. Now you just need to generate an API key with a role of MetricsPublisher, and then you can move on to configuring carbon-relay-ng. To do that, navigate to Security -> API Keys and click on “+ Add API Key.”
Configuring carbon-relay-ng
Now that you have a Graphite data source up and running and the credentials to publish, you can configure your local carbon-relay-ng instance to start publishing metrics to Grafana Cloud.
The metrics instance configuration page contains sample carbon-relay-ng configuration files that you can use for your initial configuration. To view them go to Grafana Cloud -> Metrics -> Details on your Graphite instance.

carbon-relay-ng.conf
## Global settings ##
# instance id's distinguish stats of multiple relays.
# do not run multiple relays with the same instance id.
# supported variables:
#  ${HOST} : hostname
instance = "${HOST}"

## System ##
# this setting can be used to override the default GOMAXPROCS logic
# it is ignored if the GOMAXPROCS environment variable is set
max_procs = 2
pid_file = "carbon-relay-ng.pid"
# directory for spool files
spool_dir = "spool"

## Logging ##
# one of trace debug info warn error fatal panic
# see docs/logging.md for level descriptions
# note: if you used to use "notice", you should now use "info".
log_level = "info"

## Inputs ##
### plaintext Carbon ###
listen_addr = "0.0.0.0:2003"
# close inbound plaintext connections if they've been idle for this long ("0s" to disable)
plain_read_timeout = "2m"
### Pickle Carbon ###
pickle_addr = "0.0.0.0:2013"
# close inbound pickle connections if they've been idle for this long ("0s" to disable)
pickle_read_timeout = "2m"

## Validation of inputs ##
# you can also validate that each series has increasing timestamps
validate_order = false

# How long to keep track of invalid metrics seen
# Useful time units are "s", "m", "h"
bad_metrics_max_age = "24h"

[[route]]
key = 'grafanaNet'
type = 'grafanaNet'
addr = 'https://graphite-us-central1.grafana.net/metrics'
apikey = '<User>:<Your Grafana.com API Key>'
schemasFile = '/etc/carbon-relay-ng/storage-schemas.conf'

## Instrumentation ##
[instrumentation]
# in addition to serving internal metrics via expvar, you can send them to graphite/carbon
# IMPORTANT: setting this to "" will disable flushing, and metrics will pile up and lead to OOM
# see https://github.com/grafana/carbon-relay-ng/issues/50
# so for now you MUST send them somewhere. sorry.
# (Also, the interval here must correspond to your setting in storage-schemas.conf if you use Grafana Cloud)
graphite_addr = "localhost:2003"
graphite_interval = 10000  # in ms
storage-schemas.conf
[default]
  pattern = .*
  retentions = 10s:1d

#Note that if you update the carbon-relay-ng 'graphite_interval' parameter to something other than the default of 10,000ms (10s),
#you should set that new value here as well
[crng-service]
  pattern = ^service_is_carbon-relay-ng
  retentions = 10s:1d
[crng-stats]
  pattern = carbon-relay-ng.stats
  retentions = 10s:1d
The most important modifications to make to the configuration are plugging in your user and the generated API key, and making sure that the schemasFile property points to your storage-schemas.conf file.
If you would prefer not to include your Grafana Cloud credentials in your carbon-relay-ng.conf file, version 0.13 or later will allow you to configure your credentials via the GRAFANA_NET_USER_ID and GRAFANA_NET_API_KEY environment variables. To do so, update your [[route]] section to contain this line: apikey = '${GRAFANA_NET_USER_ID}:${GRAFANA_NET_API_KEY}'.
You can now start carbon-relay-ng, and it will immediately start publishing its self-monitoring metrics to your Grafana Cloud Graphite instance.
Using a local binary, you would use ./carbon-relay-ng carbon-relay-ng.conf, or depending on how you installed it, you may use an init system such as systemd.
Now, any data published by an application (such as statsd, collectd or diamond) that sends out carbon data into our socket (which is listening on localhost:2003) will show up on Grafana Cloud as well.
You can find more details on configuring carbon-relay-ng in the configuration documentation, including information on how to drop, rename, and aggregate metrics, as well as send them to alternate locations (such as Kafka or Amazon Cloudwatch).
If you start running into scaling issues with carbon-relay-ng or need to make sure that your carbon-relay-ng instances are highly available, you can find documentation on how to manage multi-instance and HA carbon-relay-ng setups on the data ingestion page of the Grafana Cloud Graphite documentation.
Querying your metrics
Now that your metrics are flowing in to Grafana Cloud, it’s time to query them.
While you could query your metrics from a local Grafana instance, we’ll assume you want to use a Grafana Cloud Grafana instance.
If you followed the signup flow as described in the section Creating a Grafana Cloud instance, then your Grafana instance has already been created. You can access it from your personal page by clicking on Grafana Cloud -> Grafana -> Log In button of your Grafana instance.

Finally, you can query your metrics from the Explore view by clicking the compass icon on the sidebar and selecting your new Graphite data source.
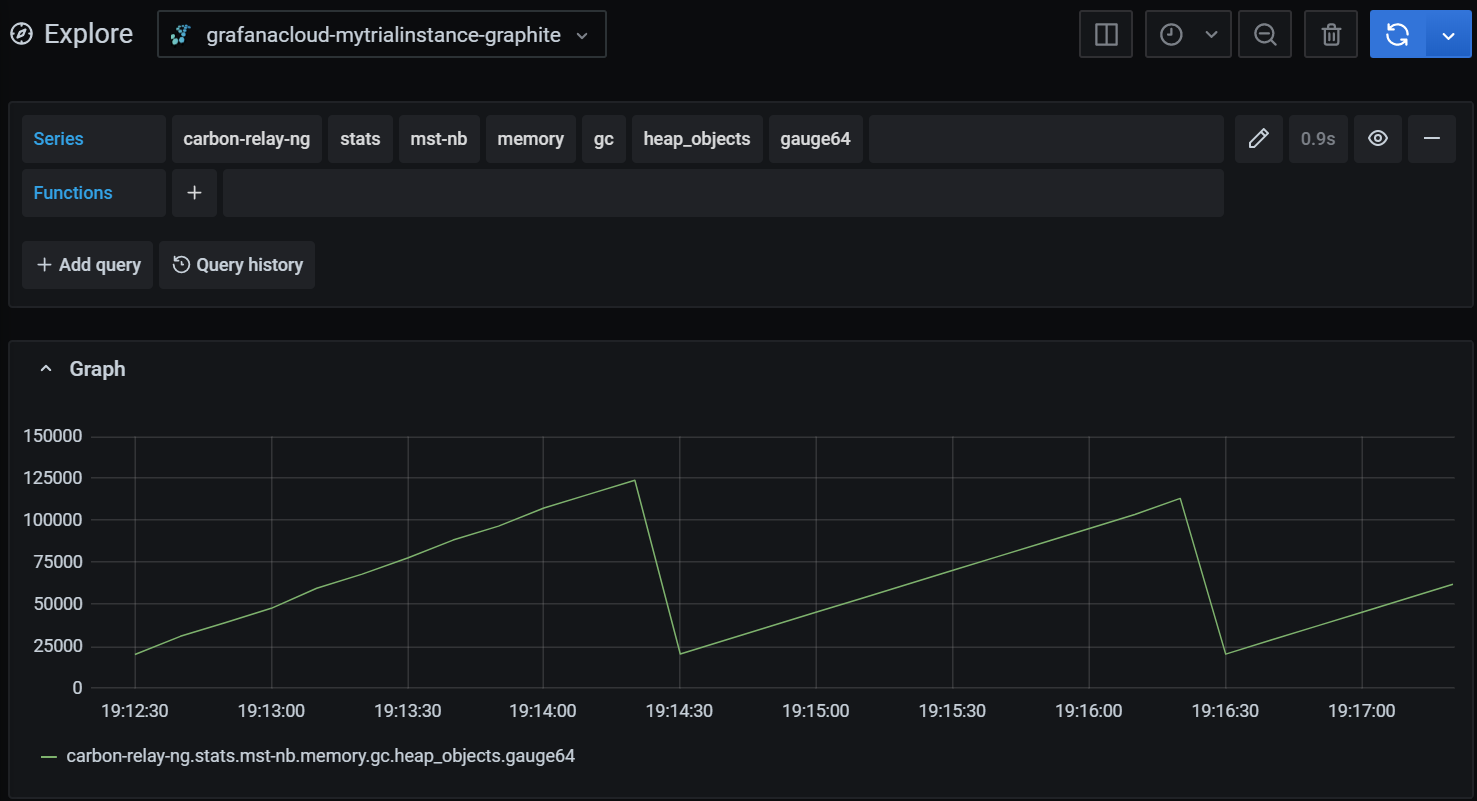
You are now ready to send more data to the relay, create (or import) Grafana dashboards, and create alerting rules.
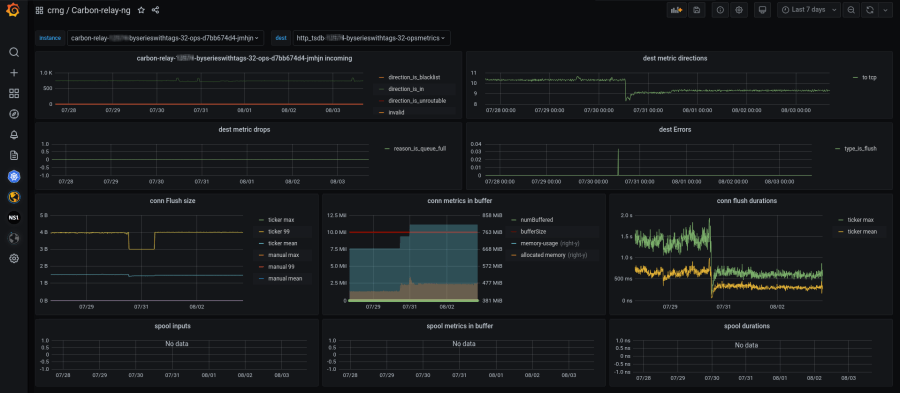
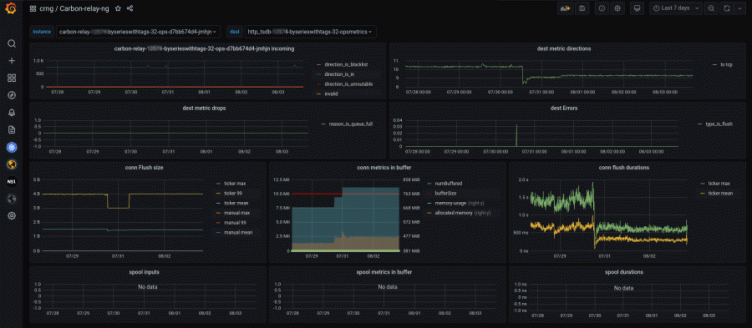
One final note: I would recommend importing the Carbon-relay-ng dashboard into your Grafana instance to see how carbon-relay-ng itself is performing.
