Plugins 〉Traffic Light

Traffic Light
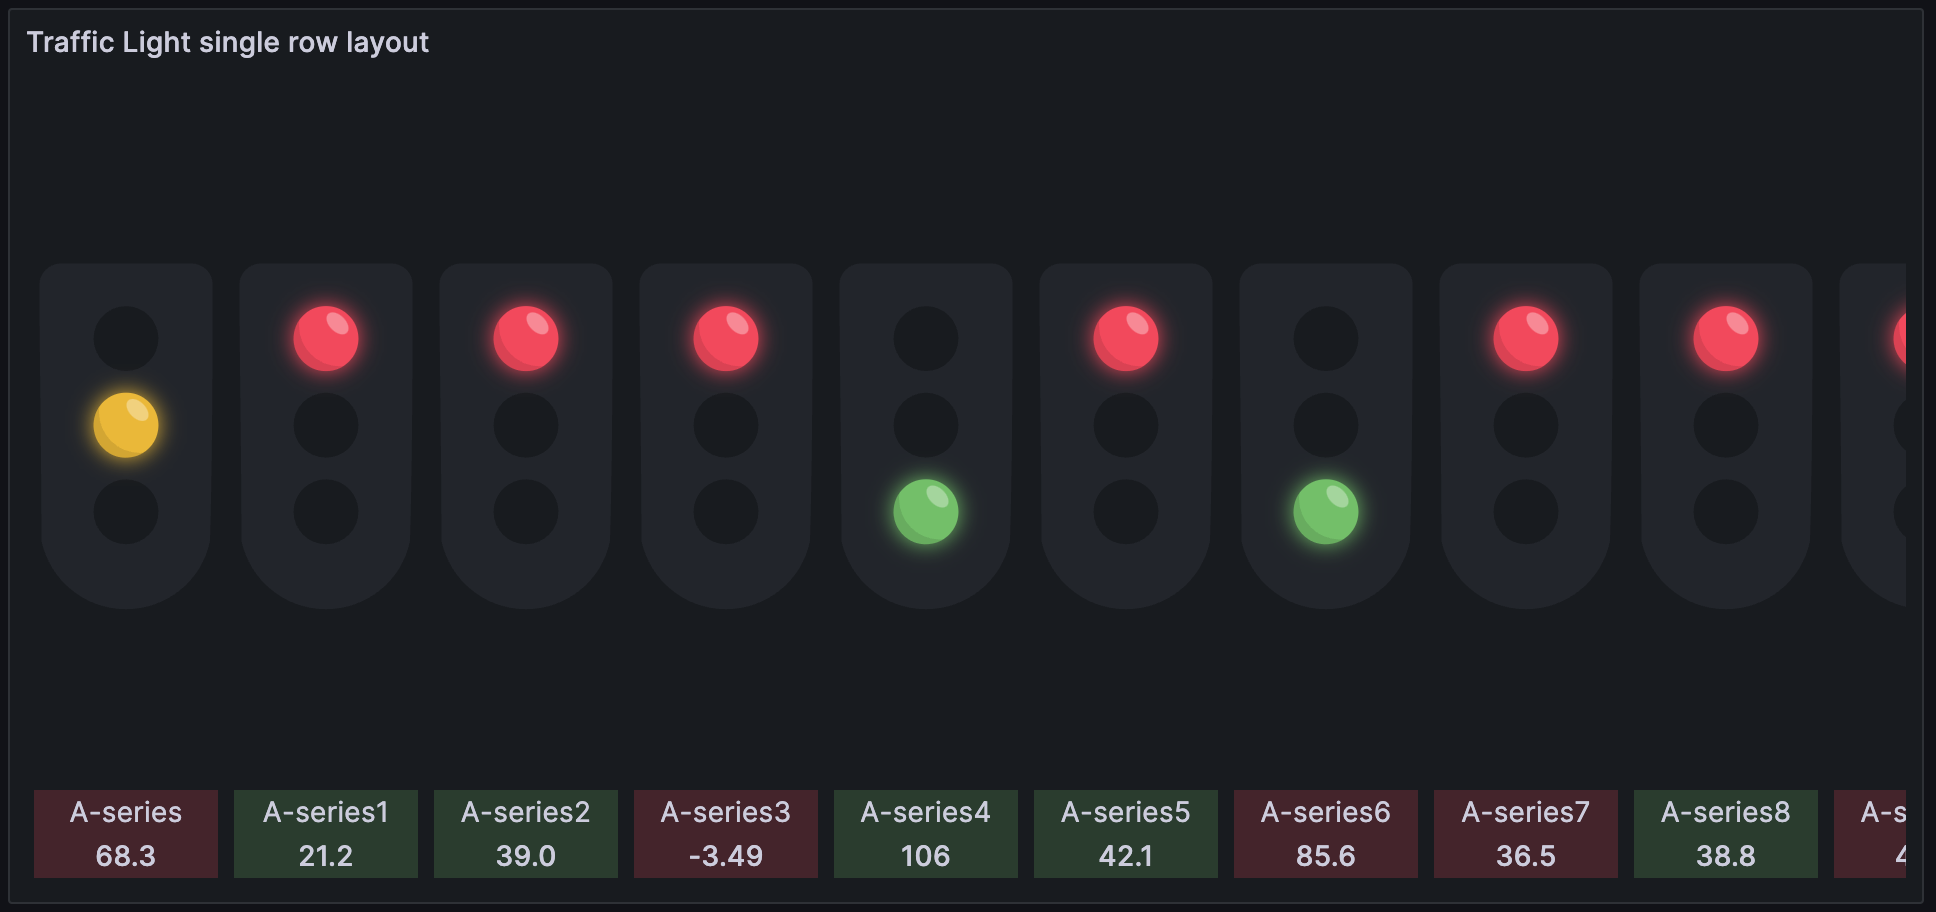

Heywesty Traffic light panel
![]()
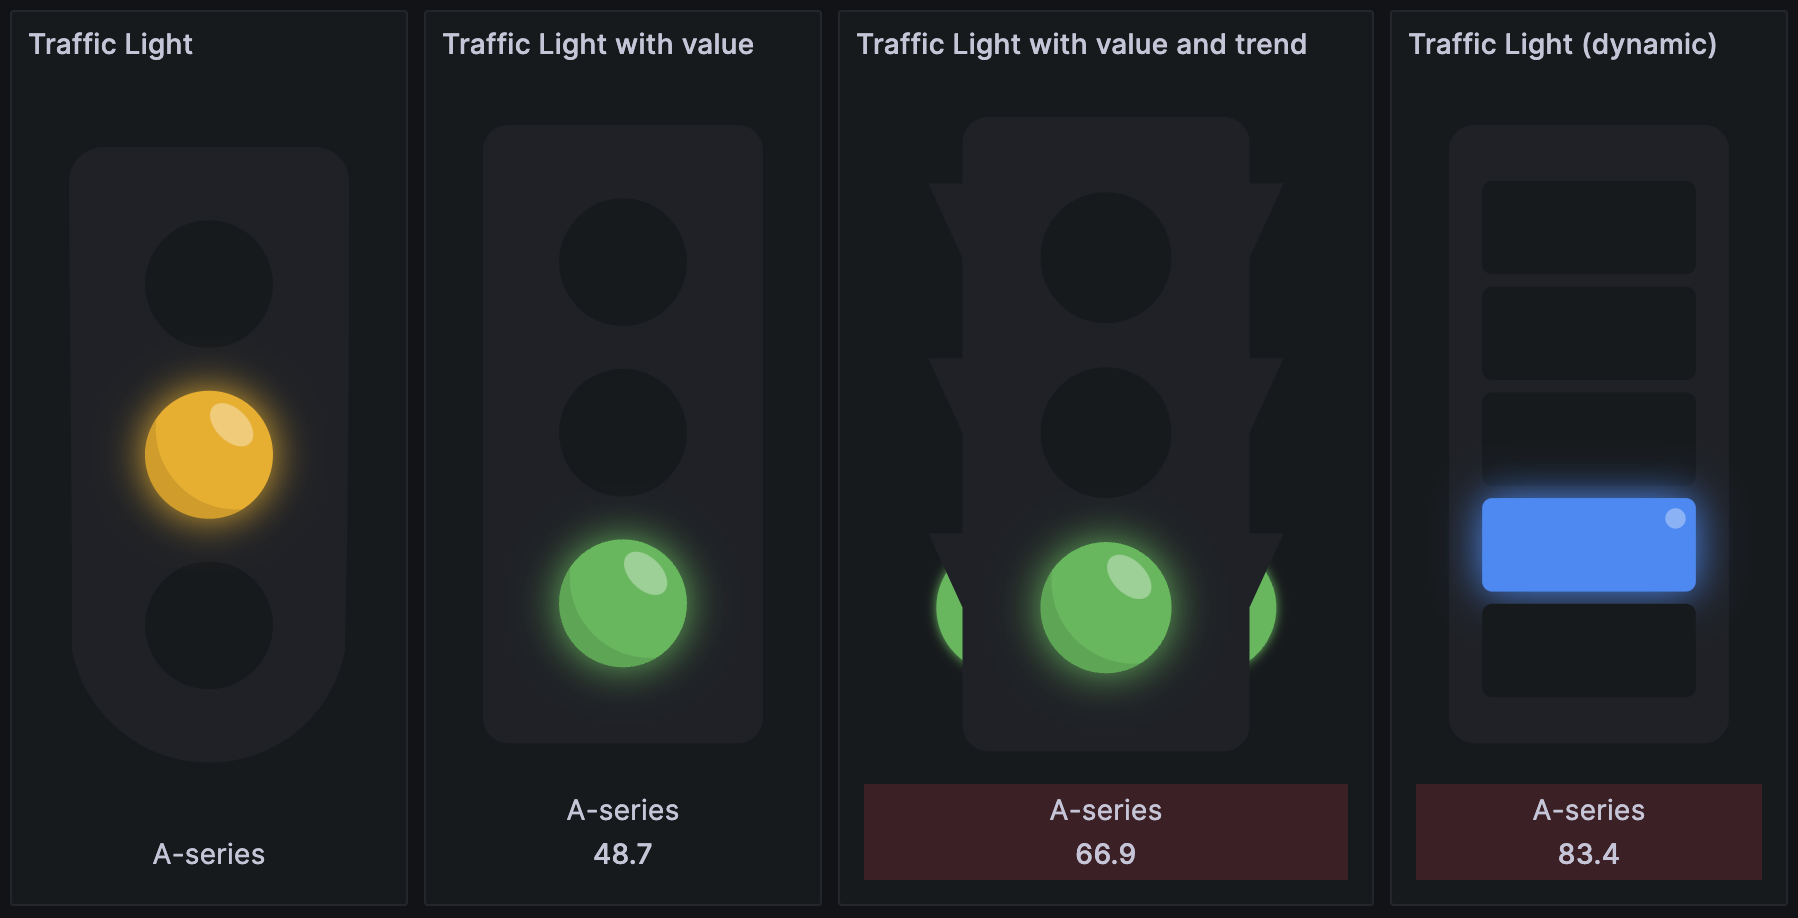
A traffic light to help you interpret complex information at a glance.

Requirements
Grafana >=9.5.3
Features
- Customizable Traffic Light Width: Set the minimum width for each traffic light.
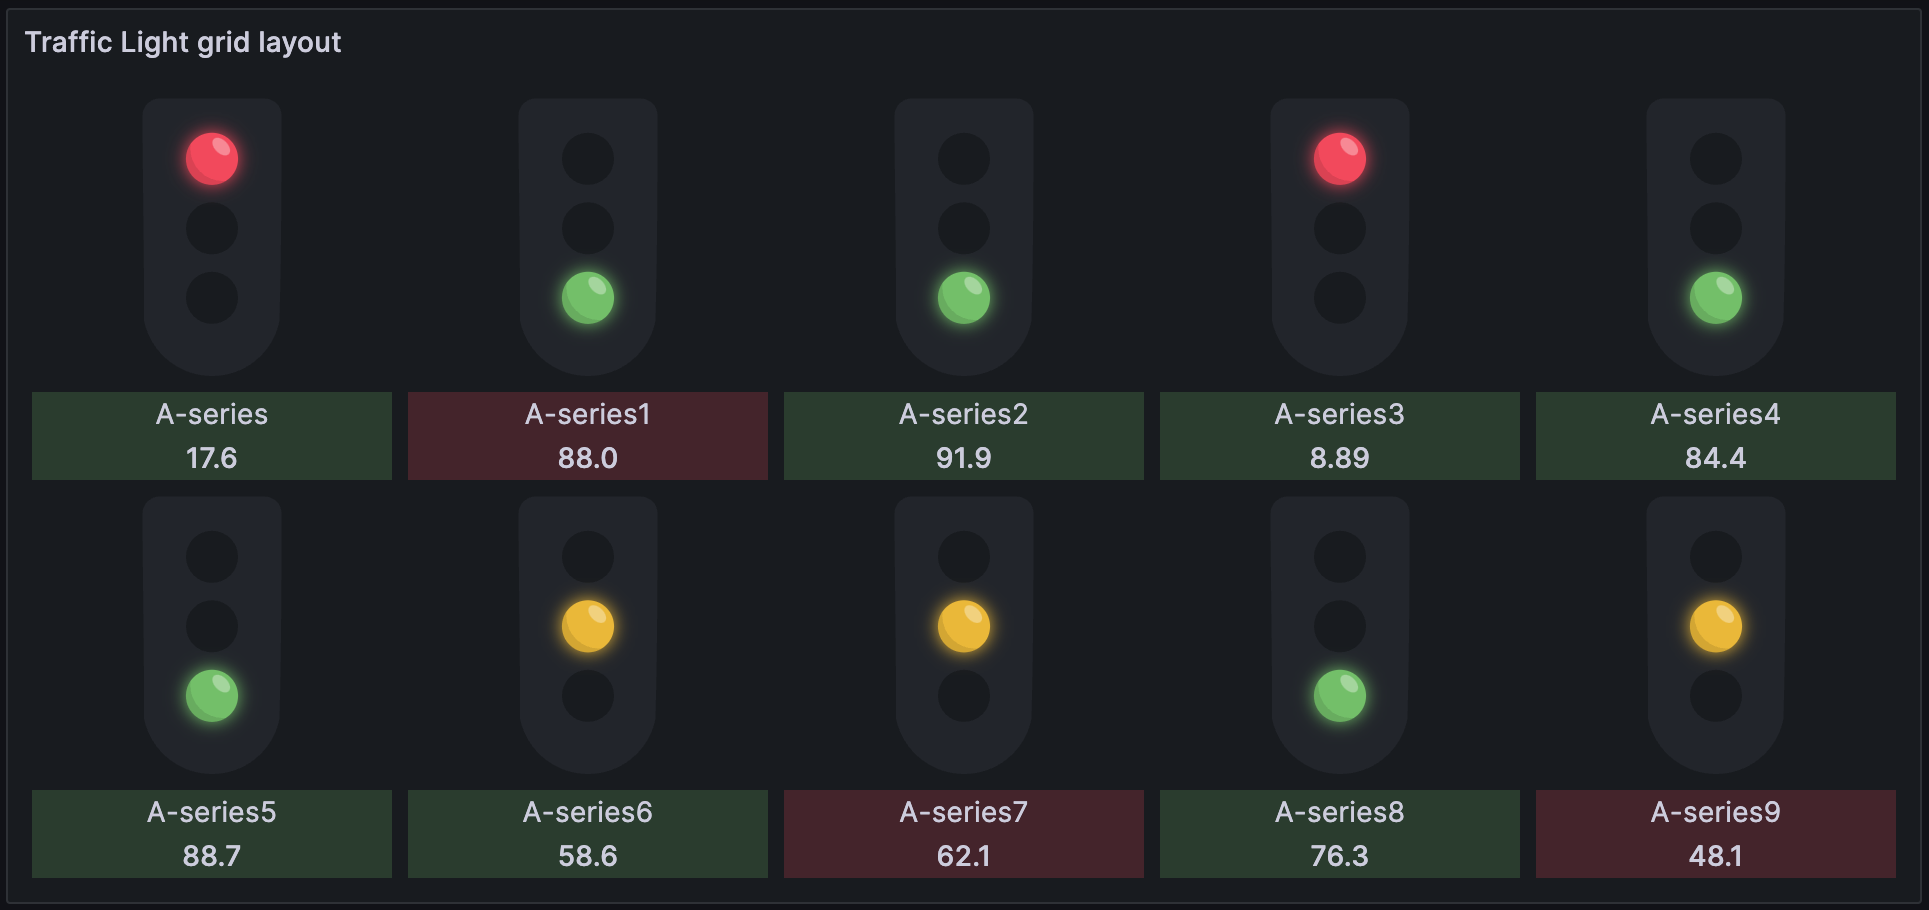
- Grid/Single Row Layout: Ability to layout lights on a grid or in a single row.
- Reversible light colors: Reverse the order of traffic light colors.
- Sorting Options: Sort the traffic lights based on values in ascending, descending, or series (none) order.
- Value Display: Option to show or hide the values associated with each light.
- Legend Display: Option to show or hide the legend (query name) associated with each light.
- Trend Display: Show or hide the trend color to provide an additional layer of information.
- Traffic Light Style: Pick a style of traffic light. If you want a custom number of lights use dynamic.
- Orientation Flexibility: Choose between a vertical or horizontal layout for the traffic lights.
Installation
This plugin can be installed using one of the following methods:
- Grafana Plugins Catalog
- Grafana CLI:
grafana-cli plugins install heywesty-trafficlight-panel - Github releases page
Usage
The traffic light panel uses the built in Grafana thresholds to assign lights to values.
Choose a traffic light style: In the panel settings, select a light style. Dynamic allows you to add any number of lights based on the threshold settings. All other light styles require 3 thresholds to be set.
Define Thresholds: In the panel settings, define thresholds that categorize your data. A basic thresholds example for a traffic light looks like:

Assign Colors: Assign colors to each threshold range. These colors will be used to represent the corresponding data values in the traffic lights.
Preview and Adjust: After setting the thresholds, preview them on your dashboard. Adjust the thresholds and colors as necessary to accurately reflect the status indicated by your data.
Data Links: Optionally add datalinks to make the traffic light panel navigate elsewhere on click.
[!TIP] Make use of threshold overrides if you'd like to set traffic lights with different colour schemes. If you're using dynamic lights you can also set different numbers of lights.
Options
Getting started is as simple as adding the panel to your dashboard and tweaking a few settings:
- Minimum Light Width: Decide how big your traffic lights should be for clear visibility. The default setting is 100 pixels.
- Single Row View: By default each light will flow in an auto grid layout. This can be controlled by adjusting the minimum light width. Enable this if you'd prefer to keep all lights on one row.
- Reverse Light Color: Due to Grafana auto sorting thresholds, this option caters for situations where the "base" threshold should be considered "go" and the highest threshold should be considered "stop".
- Show Value: Choose whether to display the numerical values with each light. True by default.
- Show Legend: Choose whether to display the numerical values with each light. True by default.
- Show Trend: Add an extra layer of insight with a trend color. True by default.
- Traffic Light Style: Choose from one of: default, rounded, side lights, or dynamic.
- Sort Lights: Organize your traffic lights in the order that makes sense to you:
- None: Keep data series order.
- Ascending: Line them up from lowest to highest values.
- Descending: Line them up from highest to lowest values.
- Orientation: Set the lights horizontally or stick to the default vertical layout.
Troubleshooting / Help
The query returned no data.
Check the datasource is returning data from the query.
This data format is unsupported.
The plugin supports any data source that returns data frame(s) containing one numeric field.
Thresholds are incorrectly set.
Thresholds need to be set for the plugin to operate. Please see usage section above. Thresholds must contain base and two other values. One for each light.
Grafana Cloud Free
- Free tier: Limited to 3 users
- Paid plans: $55 / user / month above included usage
- Access to all Enterprise Plugins
- Fully managed service (not available to self-manage)
Self-hosted Grafana Enterprise
- Access to all Enterprise plugins
- All Grafana Enterprise features
- Self-manage on your own infrastructure
Install on Grafana Cloud
Plugins can be installed directly from within your Grafana instance or automated using the Cloud API or Terraform.
Learn more about plugin installationMarketplace plugins
This is a paid plugin developed by a marketplace partner. To purchase an entitlement, sign in first, then fill out the contact form.
Get this plugin
This is a paid for plugin developed by a marketplace partner. To purchase entitlement please fill out the contact us form.
What to expect:
- Grafana Labs will reach out to discuss your needs
- Payment will be taken by Grafana Labs
- Once purchased the plugin will be available for you to install (cloud) or a signed version will be provided (on-premise)
Thank you! We will be in touch.
For more information, visit the docs on plugin installation.
Installing on a local Grafana:
For local instances, plugins are installed and updated via a simple CLI command. Plugins are not updated automatically, however you will be notified when updates are available right within your Grafana.
1. Install the Panel
Use the grafana-cli tool to install Traffic Light from the commandline:
grafana-cli plugins install The plugin will be installed into your grafana plugins directory; the default is /var/lib/grafana/plugins. More information on the cli tool.
Alternatively, you can manually download the .zip file for your architecture below and unpack it into your grafana plugins directory.
Alternatively, you can manually download the .zip file and unpack it into your grafana plugins directory.
2. Add the Panel to a Dashboard
Installed panels are available immediately in the Dashboards section in your Grafana main menu, and can be added like any other core panel in Grafana.
To see a list of installed panels, click the Plugins item in the main menu. Both core panels and installed panels will appear.
Changelog
0.5.2
- Chore: Bump @grafana/create-plugin configuration to 5.12.4
0.5.1
- Feat: Code split svgs for smaller initial bundle
- Fix: Data links causing app to crash
- Chore: Bump @grafana/create-plugin configuration to 5.10.0
0.5.0
- Feat: Dynamic Lights style allowing any number of lights to be used
- Fix: Sort should sort numerically
- Chore: Bump @grafana/create-plugin configuration to 5.5.3
- CI: Update all GH workflows to latest create-plugin
0.4.1
- Chore: Bump @grafana/create-plugin configuration to 5.3.9
0.4.0
- Feature: Support table data
- Chore: fix license file
- Chore: Bump @grafana/create-plugin configuration to 4.16.2
- Deps: bump ws from 8.13.0 to 8.17.1
0.3.1
- Bug: Fix queries with a single field
- Chore: Bump @grafana/create-plugin configuration to 4.12.0
- CI: introduce cp update workflow
0.3.0
- Add new option to reverse the order of colors in traffic lights
- Add new option to show only the legend (query name) below traffic lights
- Clean up e2e tests with test ids const and bumping plugin-e2e to 1.x.x
- Introduce e2e tests for TrafficLightValue component
0.2.0
- Add a new option to select different traffic light styles (
default,rounded,side-lights) - Add some basic tests for utils
- Add plugin-e2e package with playwright for e2e tests
- Fix bugs with
calculateRowsAndColumnswhere itemcount and containerWidth weren't being considered causing potential layout breakages - Fix a bug with
calculateRowsAndColumnsusingdata.series.lengthcausing broken layouts due to returning a different length to useDatasvalueswhich we should consider the source of truth.
0.1.0
Initial release.