
Plugins 〉Kafka


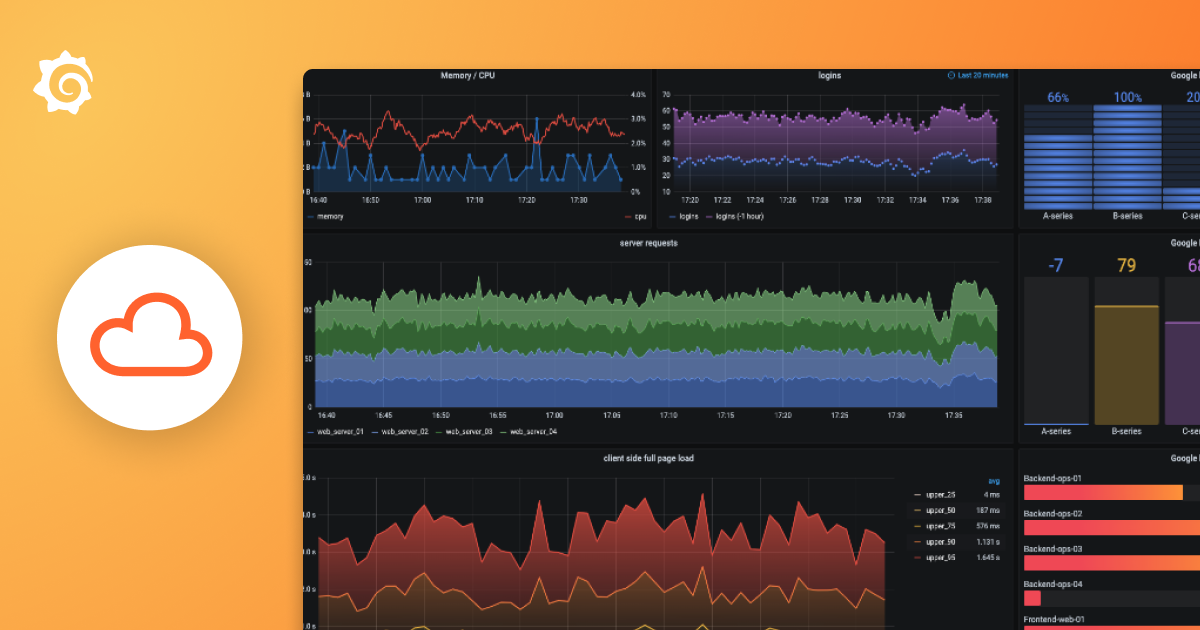
- Grafana, of course
- 10k series Prometheus metrics
- 50 GB logs
- 50 GB traces
- 2,232 app o11y host hours
- ...and more
No credit card needed, ever.
- Reduce metric cardinality by 30-50%
- Pay only for metrics you use
- Centralize control over your data in Grafana Cloud
Gain insight into unused metrics and optimize metric cardinality with the new cardinality management dashboards and Adaptive Metrics

Kafka

Kafka Datasource Plugin
Visualize real-time streaming data from Apache Kafka directly in your Grafana dashboards. This plugin enables you to monitor live Kafka topics with automatic updates and time-series visualizations.
Version Compatibility
- Apache Kafka v0.9 or later
- Grafana v9.0 or later
- Network access from Grafana server to Kafka brokers
Installation
For the installation process, please refer to the plugin installation docs.
Configuration
After installation, configure the plugin by adding a new Kafka data source in Grafana and filling out the following fields:
- Servers: Comma-separated list of Kafka bootstrap servers (e.g.
broker1:9092, broker2:9092) - Security Protocol: Choose the protocol (e.g.
PLAINTEXT,SASL_SSL) - SASL Mechanisms: Specify SASL mechanism if required (e.g.
PLAIN,SCRAM-SHA-512) - SASL Username/Password: Provide credentials if SASL authentication is enabled
- Log Level: Set log verbosity (
debug,error) - Healthcheck Timeout: Timeout for health checks in milliseconds (default: 2000ms)
- API Key: (Deprecated) This field is deprecated and will be removed in future versions. Avoid using it for new configurations.
Provisioning
You can automatically configure the Kafka datasource using Grafana's provisioning feature. Create a YAML file in your Grafana provisioning directory just like example in provisioning/datasources/datasource.yaml. This allows you to set up the Kafka data source without manual configuration through the Grafana UI.
Build The Query
- Create a new dashboard panel
- Select your Kafka data source
- Configure the query:
- Topic: Your Kafka topic name
- Partition: Partition number (usually 0)
- Auto offset reset: Choose "latest" for new data or "last 100" for recent history
- Timestamp Mode: Use "Now" for real-time or "Message Timestamp" for event time
Supported Data Format
Your Kafka messages should contain simple JSON with numeric values:
{
    "temperature": 23.5,
    "humidity": 65.2,
    "pressure": 1013.25
}
Each numeric field becomes a separate series in your graph, allowing you to monitor multiple metrics from a single topic.
Getting Help
- Check the GitHub repository for documentation and examples
- Review sample producer code in different programming languages
- Report issues or request features via GitHub Issues