
Plugins 〉openHistorian

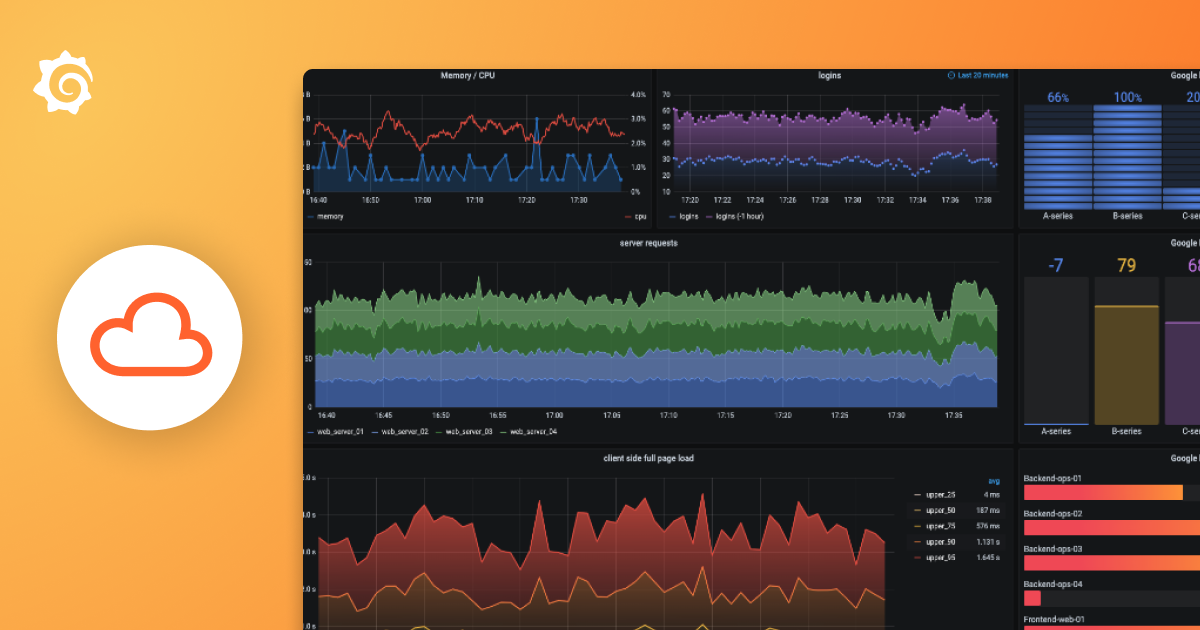
See demos of new Grafana Cloud observability workflows, hear community success stories, and leave with what you need to advance your observability roadmap.
- Reduce metric cardinality by 30-50%
- Pay only for metrics you use
- Centralize control over your data in Grafana Cloud
Gain insight into unused metrics and optimize metric cardinality with the new cardinality management dashboards and Adaptive Metrics

openHistorian


Grafana Data Source Plug-in for openHistorian
This Grafana data source plug-in provides access to the openHistorian – the high-performance time-series data store optimized for quick and efficient storage and retrieval. Built by the GridProtectionAlliance, the openHistorian is an archival and visualization platform for process control data like SCADA, synchrophasor, digital fault recorder, and other essential time-series data.
What's New
Moving from previous versions of the plugin to v2.1.0 may break various dashboards. We recommend the following process to maintain full functionality.
- Identify all queries using the openHistorian data source.
- Switch identified queries to "Text Mode".
- Copy the contents of the text box to a text editor.
- Update the plugin.
- Switch the queries to use the new data source.
- Switch the mode to Text.
- Paste in the appropriate content from (3).
Note that the all functionality present in previous versions is also available in v2.1.0.
- Simplified Query Building: We’ve merged the
Element List BuilderandFilter Expression Query Builderinto one intuitive interface, accessible viaQuery Wizard. The Query Wizard Mode provides a guided experience for creating queries with signal search or filter expression building, function picker with detailed parameter breakouts, and helpful toggles for including peaks, dropping empty series, and more. - Metadata Selections: Metadata can now be combined with queried data to support custom panels, like the Geomap plug-in.
- Multiple Data Source Value Types: Multiple data source value types are now supported. In addition to the standard
DataSourceValuetype which consists of aValueand aTimes, custom types, like aPhasorValuetype, which consists of a tuple ofMagnitudeandAnglevalues and aTime, are now available. - Extendable Functions: The backend Grafana adapters of the openHistorian now supports user-defined custom functions.
- Performance Improvements: All operations, including data queries and function processing, are all processed asynchronously.
Usage
Building a metric query using the openHistorian Grafana data source begins with a selection between two modes "Query Wizard Mode" or "Text Editor Mode".
Query Wizard Mode
The Query Wizard mode is used to select series to trend. This guided wizard allows crafting metric selection queries by direct tag selection or using FILTER expressions with a user-friendly interface, with options to control the granularity and specifics of the data being queried. Behavioral query settings include Drop Empty Series, Include Peaks, Full Resolution Data, and Radial Geo Distribution. Additionally, the wizard allows the selection of avaliable functions, with detailed descriptions for all the required and optional parameters.

Text Editor Mode
For a more hands-on approach, the Text Editor mode allows direct entry of query expressions, with the freedom to write and edit queries in raw form.

Note: The transition between
Query WizardandText Editormodes is seamless, retaining your expressions as you switch. However, manual edits made inText Editormode won't be reflected back inQuery Wizardmode.
Manual Queries
- Direct Tag Specification: Input point tags, GUIDs, or measurement keys directly.
- Filter Expressions: Leverage a SQL-like syntax for dynamic and complex queries.
- Combined Expressions: Mix and match direct specifications with filter expressions for granular control.
Filter Expressions
Filter expressions use a syntax that is analogous to SQL. For example, the following expression would select the first 5 encountered time-series metrics for any device with a name that starts with SHELBY:
FILTER TOP 5 ActiveMeasurements WHERE Device LIKE 'SHELBY%'
Filter Builder from the Query Wizard

Series Functions
A suite of functions like Average, StandardDeviation, and more, can be leveraged to perform calculations across selected data series. Functions are easily applied in either Query Wizard mode or Text Editor mode. Additionally, many functions support group operations by time-slice or over the entire set of series.
See GSF Grafana Functions for more detail and the full list of available functions.
Function Selection from the Query Wizard

Metadata Selections
Query results can easily now be combined with metadata. For example, selecting Longitude and Latitude metadata will provide geo-coordinates for maps:

Alarm Annotations
Time-series alarms can be visualized with annotation queries for immediate insight into #ClearedAlarms and #RaisedAlarms (or just #Alarms for both cleared and raised), providing insights into series data quality.

Filter expressions of the configured time-series alarms are also supported, e.g.:
FILTER TOP 10 ClearedAlarms WHERE Severity >= 500 AND TagName LIKE '%DEVICE1%'
or
FILTER RaisedAlarms WHERE Description LIKE '%High Frequency%'
See Alarms table definition for available query fields in the ClearedAlarms and RaisedAlarms datasets. Note that series functions are not currently supported on user specified alarm annotation queries.
All annotation queries are internally executed as non-decimated, full resolution data from the data source to make sure no alarm values are skipped for the specified query range. Although this operation produces the most accurate query results, its use increases query burden on the data source – as a result, queries for long time ranges using alarm annotations could affect overall dashboard performance.
Configuration
Configuring your data source is straightforward, with support for openHistorian 2.0 and up. Seamless integration with Grafana allows for easy setup, authentication, and data flag exclusions for desired data quality in visualizations.
The openHistorian Grafana data source works both for the standalone openHistorian 2.0 and the openHistorian 1.0 which is embedded into products like the openPDC.
Configuration of an openHistorian Grafana data source is normally as simple as specification of a URL and proper authentication options. The required authentication options depend on the configuration of the openHistorian web API which can be set as anonymous or require authentication and/or SSL.

Excluded Data Flags
All time-series data stored in the openHistorian includes measurement state flags that describe the data quality state of an archived value. The openHistorian Grafana data source includes the ability to filter queried data to the desired data quality states by excluding specified data flags.

Data Source Type
As part of a data source configuration, selection of the data source value type is now an option:

Installation
Deploying the openHistorian Grafana data source is simple, with support for auto-launch and user security synchronization in openHistorian 2.4 and beyond. For standalone Grafana instances, installation via the Grafana CLI tool or direct repository cloning is available.
For detailed installation steps, visit the official installation guide.