

Configure the Honeycomb data source
This document explains how to configure the Honeycomb data source for Grafana.
Before you begin
Before configuring the data source, ensure you have:
- Grafana permissions: Organization administrator role.
- License: A Grafana Cloud Pro or Advanced plan or an activated self-managed Grafana Enterprise license.
- Honeycomb access: An active Honeycomb Enterprise team and a Honeycomb API key with the required permissions.
- Plugin installed: Refer to Install and upgrade the Honeycomb data source plugin.
Key concepts
If you’re new to Honeycomb, these terms are used throughout the configuration:
Get an API key from Honeycomb
Before configuring the data source, you need an API key from Honeycomb:
- Go to https://ui.honeycomb.io/account.
- Create a new API key or use an existing one.
- Copy your API key.
Required API key permissions
Your Honeycomb API key must have the following permissions enabled:
Without these permissions, the data source connection test fails with a permissions error.
Add the Honeycomb data source
To install the plugin, refer to Install and upgrade the Honeycomb data source plugin. For general information on adding a data source, refer to Add a data source.
Complete the following steps to add a new Honeycomb data source:
- Click Connections in the left-side menu.
- Click Add new connection.
- Type
Honeycombin the search bar. - Select the Honeycomb data source.
- Click Add new data source in the upper right.
Grafana takes you to the Settings tab, where you set up your Honeycomb configuration.
Honeycomb settings
Configure the following settings for your Honeycomb data source:
Advanced settings
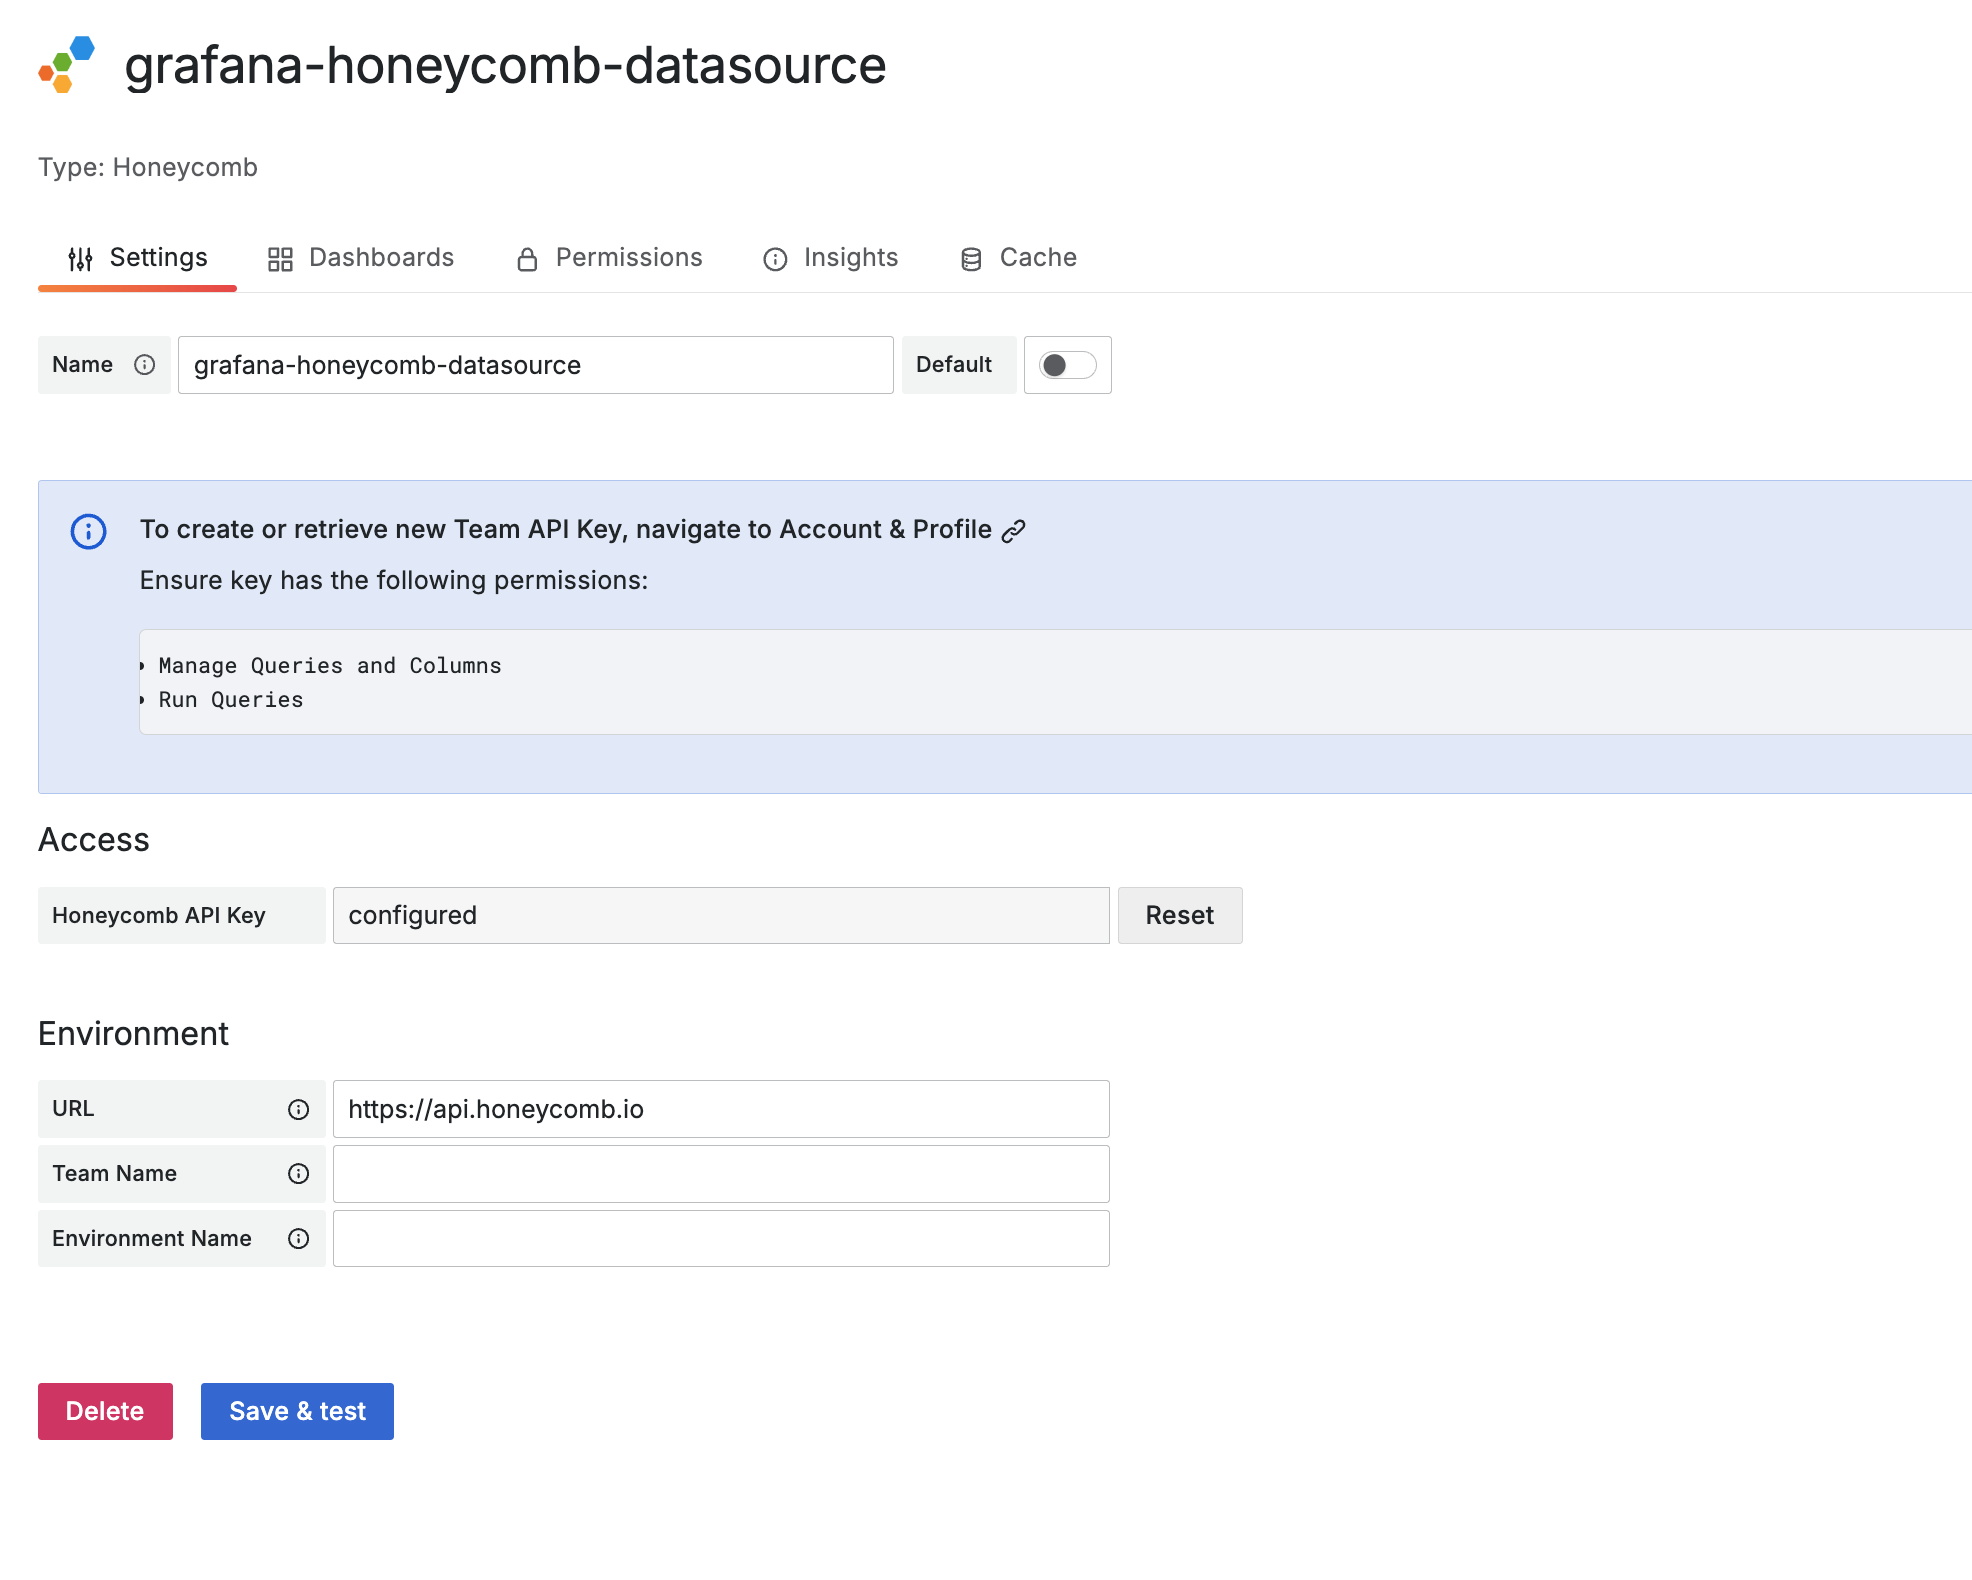
Verify the connection
Click Save & test to verify the connection. When the test succeeds, Grafana shows a message similar to:
Data source is working. Team name: <TEAM_NAME>. Environment: <ENVIRONMENT_NAME>
The team and environment names come from the API key’s associated team and environment in Honeycomb. If the API key isn’t associated with an environment, such as on Honeycomb Classic, the environment value appears as -.
Configure with provisioning
You can configure the Honeycomb data source using configuration files with the Grafana provisioning system. To learn more about how the provisioning system works, including all of the data source settings, refer to Provisioning Grafana.
Example:
apiVersion: 1
datasources:
  - name: Honeycomb
    type: grafana-honeycomb-datasource
    jsonData:
      hostname: https://api.honeycomb.io
      team: <TEAM_NAME>
      environment: <ENVIRONMENT_NAME>
      retentionLimit: 7
    secureJsonData:
      apiKey: <API_KEY>
Configure with Terraform
You can configure the Honeycomb data source using the Grafana Terraform provider.
Example:
resource "grafana_data_source" "honeycomb" {
  type = "grafana-honeycomb-datasource"
  name = "Honeycomb"

  json_data_encoded = jsonencode({
    hostname       = "https://api.honeycomb.io"
    team           = "my-team"
    environment    = "production"
    retentionLimit = 7
  })

  secure_json_data_encoded = jsonencode({
    apiKey = var.honeycomb_api_key
  })
}
For more information about the Grafana Terraform provider, refer to the Grafana Terraform provider documentation.
Was this page helpful?
Related resources from Grafana Labs


