
Menu
Open source
Deploy Pyroscope on Kubernetes
We provide multiple ways of deploying Pyroscope on Kubernetes. You can choose between the following options:
Was this page helpful?
Related resources from Grafana Labs
Getting started with continuous profiling with Grafana Cloud Profiles
In this webinar, you'll learn how to get started with Grafana Cloud Profiles - a hosted continuous profiling tool in Grafana Cloud
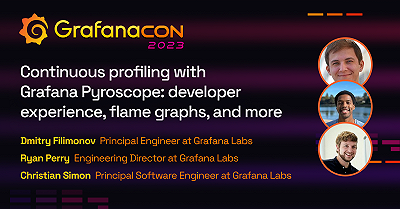
Continuous profiling with Grafana Pyroscope: developer experience, flame graphs, and more
Learn about the new Grafana Pyroscope open source project and how continuous profiling can improve developer experience.

Building scalable OSS observability with Mimir, Loki, Tempo, and Pyroscope
Learn the latest scalability and performance improvements in OSS telemetry backends Loki, Tempo, Mimir, and Pyroscope for profiles. Watch on demand.