
Important: This documentation is about an older version. It's relevant only to the release noted, many of the features and functions have been updated or replaced. Please view the current version.
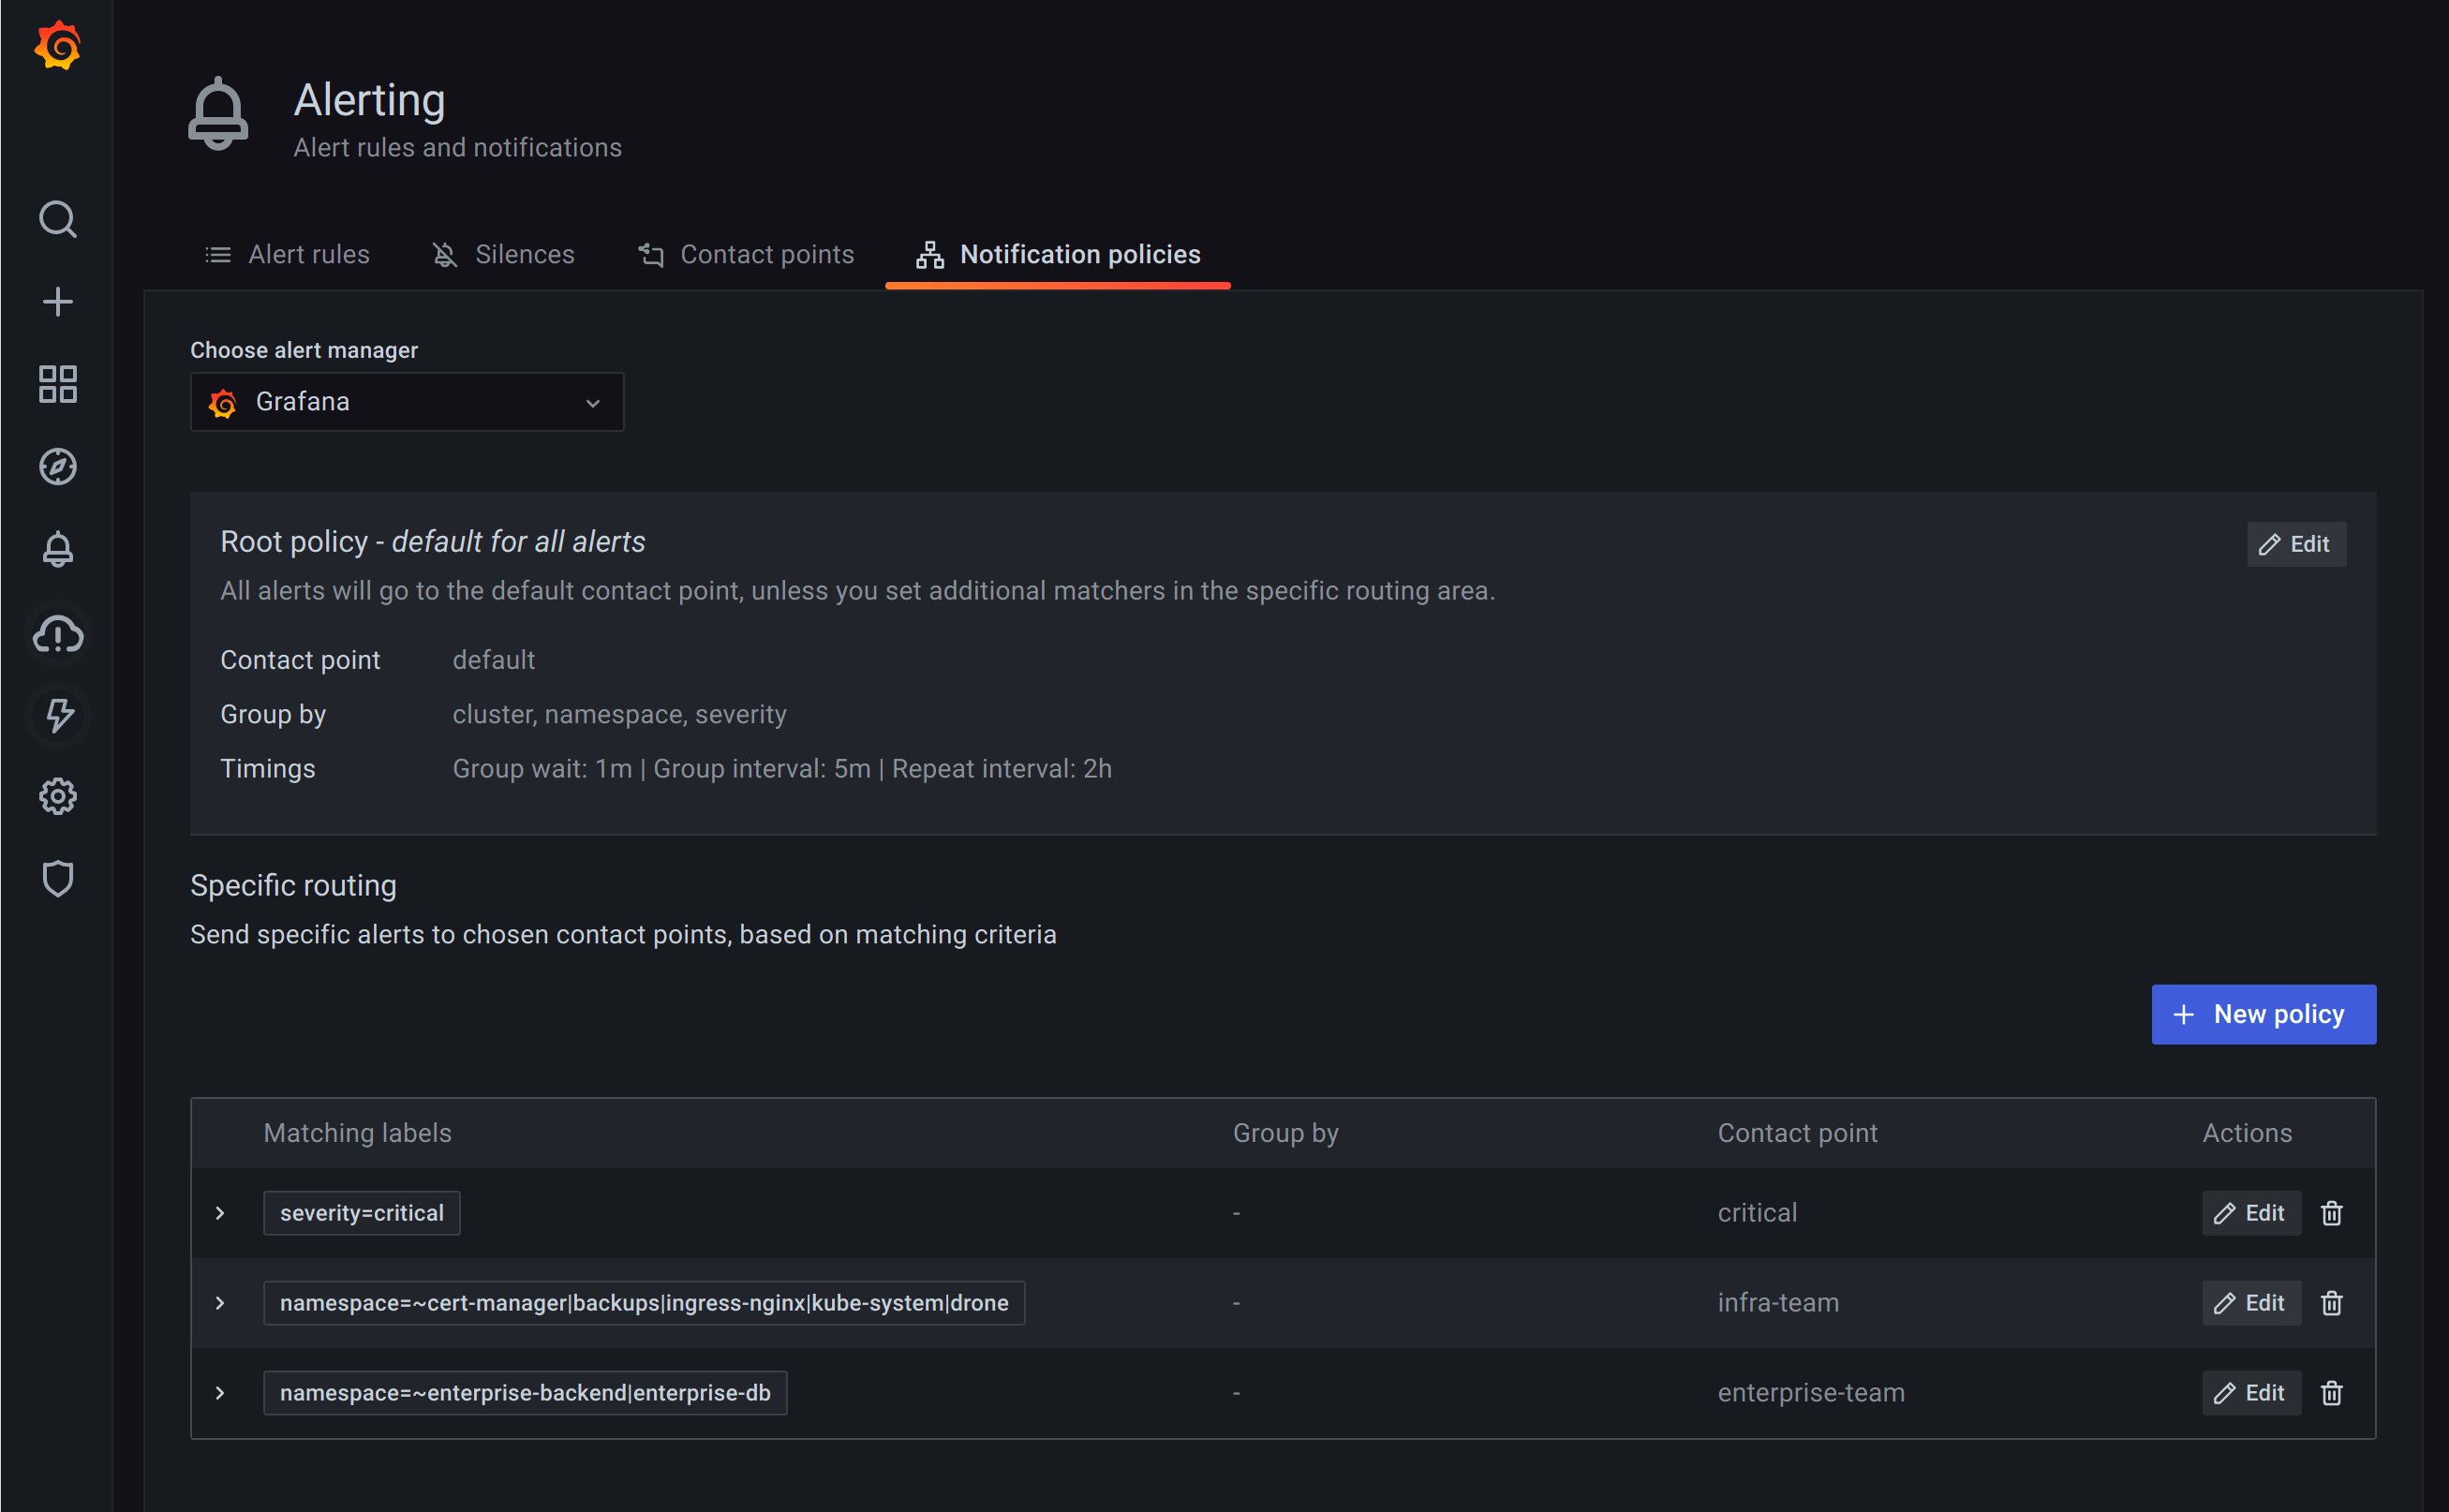
Notification policies
Notification policies determine how alerts are routed to contact points. Policies have a tree structure, where each policy can have one or more child policies. Each policy except for the root policy can also match specific alert labels. Each alert enters policy tree at the root and then traverses each child policy. If Continue matching subsequent sibling nodes is not checked, it stops at the first matching node, otherwise, it continues matching it’s siblings as well. If an alert does not match any children of a policy, the alert is handled based on the configuration settings of this policy and notified to the contact point configured on this policy. Alert that does not match any specific policy is handled by the root policy.
Grafana alerting UI allows you to configure notification policies for the Grafana managed alerts (handled by the embedded Alertmanager) as well as notification policies for an external Alertmanager if one is configured, using the Alertmanager dropdown.
Note: Currently the configuration of the embedded Alertmanager is shared across organisations. Therefore users are advised to use the new Grafana 8 Alerts only if they have one organisation otherwise notification policies for the Grafana managed alerts will be visible by all organizations.
Edit notification policies
To access notification policy editing page, In the Grafana side bar, hover your cursor over the Alerting (bell) icon and then click Notification policies.
Edit root notification policy
- Click edit button on the top right of the root policy box.
- Make changes and click save button.
Add new specific policy
To add a top level specific policy, click New policy button in the Specific routing section, fill in the form and click Save policy.
To add a nested policy to an existing specific policy, expand the parent policy in specific routing table and click Add nested policy. fill in the form and click Save policy.
Edit specific policy
To edit a specific policy, find it in the specific routing table and click Edit button. Make your changes and click Save policy.
Root policy fields
- Default contact point - The contact point to send notifications to that did not match any specific policy.
- Group by - Labels to group alerts by. If multiple alerts are matched for this policy, they will be grouped based on these labels and a notification will be sent per group. Mandatory for root policy, optional for nested specific policies. If a specific policy does not specify own grouping, root policy grouping will be used.
Group timing options
- Group wait - - How long to wait to buffer alerts of the same group before sending a notification initially. Default is 30 seconds.
- Group interval - - How long to wait before sending an notification when an alert has been added to a group for which there has already been a notification. Default is 5 minutes.
- Repeat interval - - How long to wait before re-sending a notification after one has already been sent and no new alerts were added to the group. Default is 4 hours.
Specific policy fields
- Contact point - The contact point to send notification to if alert matched this specific policy but did not match any of it’s nested policies, or there were no nested specific policies.
- Matching labels - Rules for matching alert labels. See “How label matching works” below for details.
- Continue matching subsequent sibling nodes - If not enabled and an alert matches this policy but not any of it’s nested policies, matching will stop and a notification will be sent to the contact point defined on this policy. If enabled, notification will be sent but alert will continue matching subsequent siblings of this policy, thus sending more than one notification. Use this if for example you want to send notification to a catch-all contact point as well as to one of more specific contact points handled by subsequent policies.
- Override grouping - Toggle if you want to override grouping for this policy. If toggled, you will be able to specify grouping same as for root policy described above. If not toggled, root policy grouping will be used.
- Override group timings Toggle if you want to override group timings for this policy. If toggled, you will be able to specify group timings same as for root policy described above. If not toggled, root policy group timings will be used.
How label matching works
A policy will match an alert if alert’s labels match all of the “Matching Labels” specified on the policy.
- The Label field is the name of the label to match. It must exactly match the label name.
- The Value field matches against the corresponding value for the specified Label name. How it matches depends on the Regex and Equal checkboxes.
- The Regex checkbox specifies if the inputted Value should be matched against labels as a regular expression. The regular expression is always anchored. If not selected it is an exact string match.
- The Equal checkbox specifies if the match should include alert instances that match or do not match. If not checked, the silence includes alert instances do not match.
Example setup
One usage example would be:
- Create a “default” contact point for most alerts with a non invasive contact point type, like a slack message, and set it on root policy
- Edit root policy grouping to group alerts by
cluster,namespaceandalertnameso you get a notification per alert rule and specific k8s cluster & namespace. - Create specific route for alerts coming from development cluster with an appropriate contact point
- Create a specific route for alerts with “critical” severity with a more invasive contact point type, like pager duty notification
- Create specific routes for particular teams that handle their own onduty rotations
Was this page helpful?
Related resources from Grafana Labs


